What Order Should You Follow For Your Skincare Routine
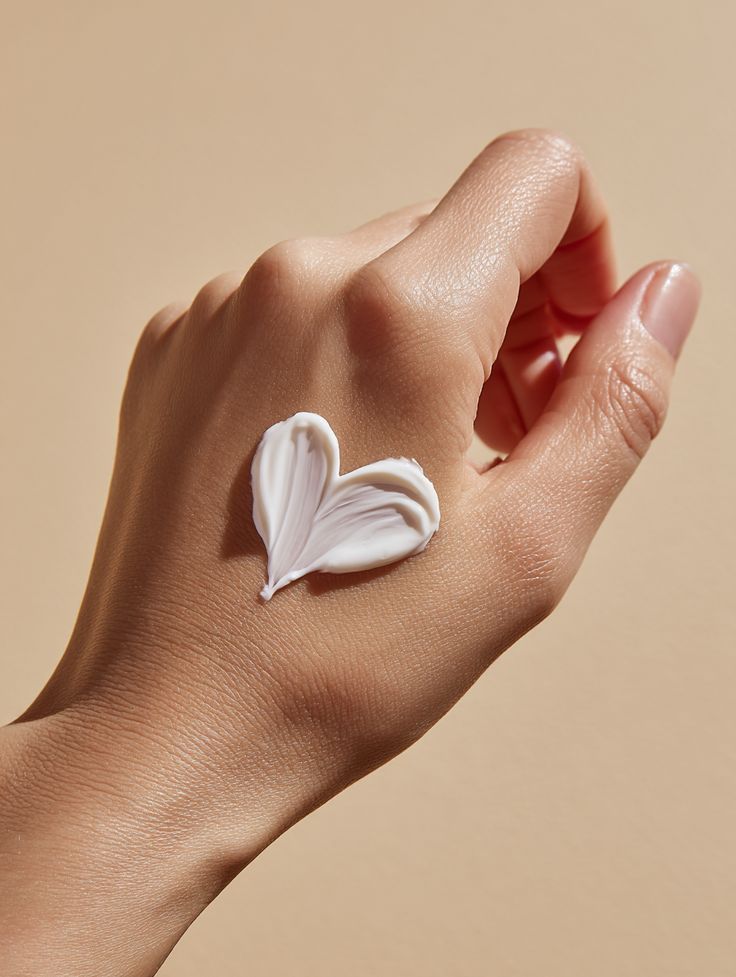
A well-planned skincare routine is key to glowing skin. Whether you're a fan of a simple morning ritual or you love going all out with a 10-step nighttime routine, the order in which you apply your products matters. Applying your products from lightest to heaviest helps them absorb properly and work their magic! Keep reading for the best tips on layering your skincare, which steps you can skip, and what products to try.
Why Does It Matter?
Your skincare routine is only effective if your products actually penetrate your skin. So, let’s ensure they’re working to their full potential!
Morning Skincare Routine
The morning is all about protecting your skin and keeping it fresh throughout the day. You’ll want to hydrate, cleanse, and make sure your skin is protected from the sun. Here’s the ideal order for a simple and effective routine:
Step 1: Oil-based Cleanser
What is it?
Oil-based cleansers help dissolve the oils your skin produces overnight and remove makeup or sunscreen.
How to Use:
Apply to either dry or wet skin (check product instructions). Massage in, then rinse with water.
When to Skip:
If you have oily or combo skin, skip this step or use a different cleanser that doesn’t contain oil.
Pros:
Removes waterproof makeup and cleanses deep.
Cons:
May cause breakouts if your skin is prone to excess oil.
Step 2: Water-based Cleanser
What is it?
Water-based cleansers wash away any remaining dirt and oils left behind from your oil-based cleanser.
How to Use:
Apply to wet skin, massage gently, then rinse.
When to Skip:
If you’re not double-cleansing, or your first cleanser is enough.
Pros:
Gentle and helps prevent breakouts.
Cons:
Can dry out the skin if too harsh.
Step 3: Toner or Astringent
What is it?
Toners hydrate your skin, while astringents help with excess oil.
How to Use:
Apply with a cotton pad or tap directly onto the skin.
When to Skip:
If you have dry skin or your cleanser is enough.
Pros:
Helps reduce pore size and refresh the skin.
Cons:
Alcohol-based toners can be irritating.
Step 4: Antioxidant Serum
What is it?
Serums contain concentrated ingredients that work to protect skin from free radicals and improve texture.
How to Use:
Pat a few drops onto your face and neck.
Pros:
Reduces redness and fights signs of aging.
Cons:
Some can cause irritation if used with other strong products.
Step 5: Spot Treatment
What is it?
If you have blemishes, a spot treatment helps reduce inflammation and redness.
How to Use:
Apply directly onto blemishes and let dry.
When to Skip:
If you have clear skin!
Pros:
Heals blemishes faster.
Cons:
May irritate skin if used too often.
Step 6: Eye Cream
What is it?
Eye creams are designed for the delicate skin around your eyes and help with puffiness and dark circles.
How to Use:
Dab gently using your ring finger.
When to Skip:
If your moisturizer does the job for your eye area.
Pros:
Hydrates and brightens the eye area.
Cons:
Can be expensive.
Step 7: Lighter Face Oil
What is it?
Light oils help lock in moisture, perfect for dry skin.
How to Use:
Warm a few drops between your fingers and apply gently to your face.
When to Skip:
If your skin doesn't need extra hydration.
Pros:
Adds a nice dewy finish.
Cons:
May cause breakouts for those with oily skin.
Step 8: Moisturizer
What is it?
Moisturizers keep your skin soft and hydrated throughout the day.
How to Use:
Warm a small amount in your hands and apply with upward strokes.
When to Skip:
If your toner or serum provides enough moisture.
Pros:
Prevents dryness and protects the skin barrier.
Cons:
Can clog pores if too heavy for your skin type.
Step 9: Sunscreen
What is it?
Sunscreen is a must in the morning to protect your skin from harmful UV rays.
How to Use:
Apply generously 15-30 minutes before going outside.
Pros:
Prevents sun damage and premature aging.
Cons:
Some formulas can cause irritation.
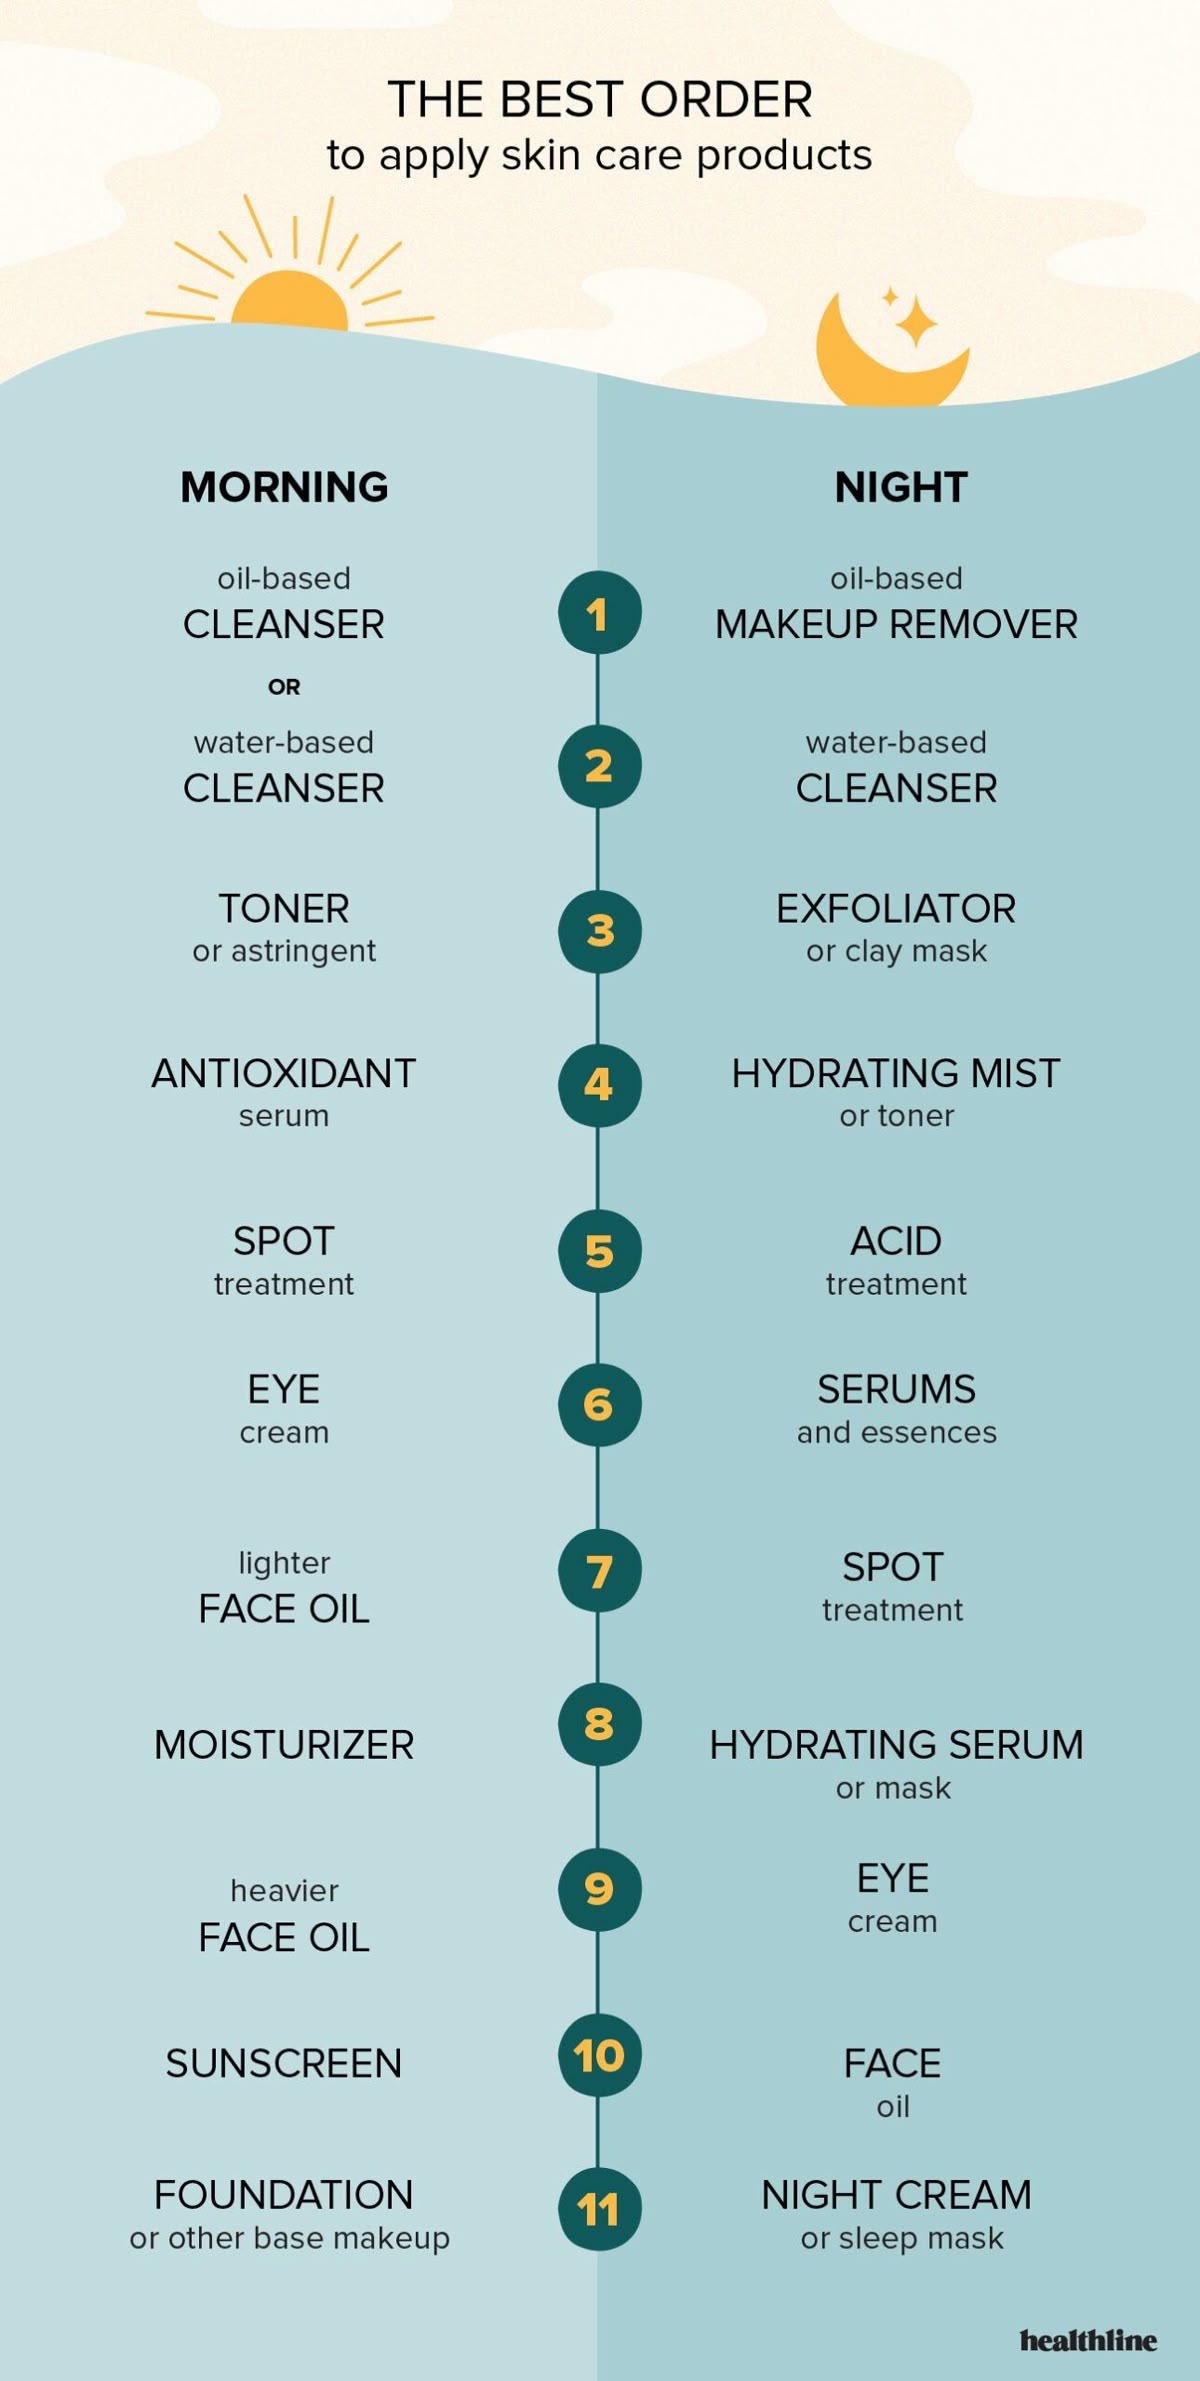
Night Skincare Routine
At night, your skin gets a chance to repair itself, so it’s the perfect time to treat it with richer products. Here’s the best way to prep your skin for a relaxing night:
Step 1: Oil-based Makeup Remover
What is it?
Helps remove makeup and dirt.
How to Use:
Massage into dry skin and rinse off.
When to Skip:
If you didn’t wear makeup that day.
Pros:
Thoroughly cleanses.
Cons:
Can leave a greasy residue if not removed properly.
Step 2: Water-based Cleanser
What is it?
A gentle cleanser to remove any lingering residue.
How to Use:
Apply to wet skin and rinse.
When to Skip:
If you’re not double-cleansing.
Pros:
Cleanses without drying out the skin.
Cons:
May not remove stubborn makeup on its own.
Step 3: Exfoliator or Clay Mask
What is it?
Exfoliators remove dead skin cells, and clay masks absorb excess oils.
How to Use:
Apply according to product instructions.
When to Skip:
If your skin is sensitive or irritated.
Pros:
Smoothes skin and clears pores.
Cons:
May cause dryness if overused.
Step 4: Hydrating Mist or Toner
What is it?
Adds moisture to your skin and restores balance.
How to Use:
Spritz onto your face or apply with a cotton pad.
Pros:
Boosts hydration and refreshes skin.
Cons:
Can be drying if alcohol-based.
Step 5: Serum or Essence
What is it?
Serums and essences deliver concentrated ingredients to your skin.
How to Use:
Apply to damp skin and gently press in.
Pros:
Addresses specific skin concerns like dullness or aging.
Cons:
Some can be pricey, but a little goes a long way!
Step 6: Spot Treatment
What is it?
Treat blemishes or breakouts with targeted products.
How to Use:
Apply directly to blemishes and leave overnight.
Pros:
Helps heal blemishes quickly.
Cons:
Can be drying if used too often.
Step 7: Eye Cream
What is it?
Rich eye creams treat dark circles and puffiness overnight.
How to Use:
Gently apply a small amount to the under-eye area.
Pros:
Reduces puffiness and brightens eyes.
Cons:
Can cause irritation if applied too close to the eyes.
Step 8: Night Cream or Sleep Mask
What is it?
A richer moisturizer that helps your skin repair itself overnight.
How to Use:
Apply generously before bed.
Pros:
Seals in moisture and boosts skin repair.
Cons:
Can feel heavy for some, but perfect for dry skin.
The Bottom Line
No matter your skin type, sticking to the basics—cleansing, hydrating, and protecting—will keep your skin glowing. Whether you opt for a
3-step morning routine or indulge in a 10-step evening ritual, the most important thing is consistency. Choose the products that best suit
your skin’s needs, and don’t be afraid to experiment and enjoy the process!


.jpg)


.jpeg)


.jpeg)


.jpeg)


.jpeg)


.jpeg)

.jpeg)

.jpeg)
.jpeg)


.jpeg)
.jpg)

.jpeg)


.jpeg)
.jpeg)


.jpeg)


.jpeg)

.jpeg)

.jpeg)

.jpeg)
.jpeg)


.jpeg)
.jpeg)
.jpeg)


.jpeg)


.jpeg)


.jpg)
.jpeg)


.jpg)


.jpeg)


.png)


.png)