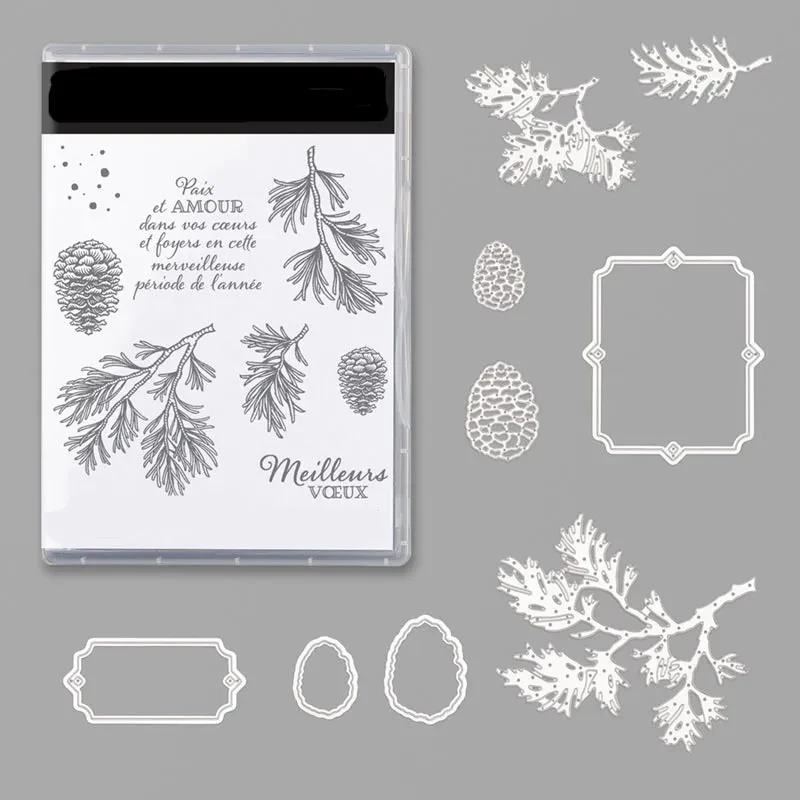
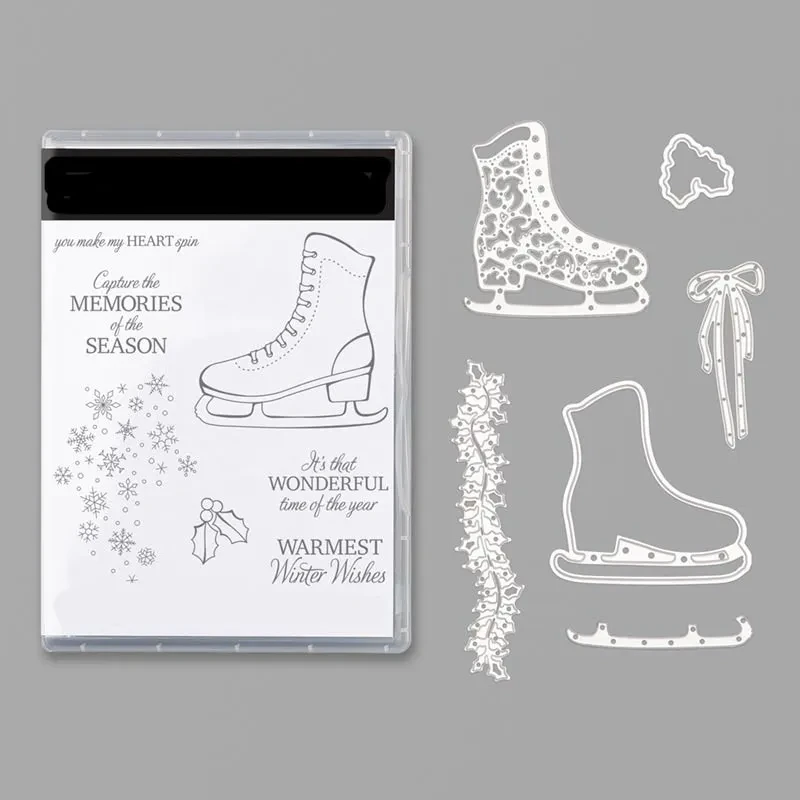
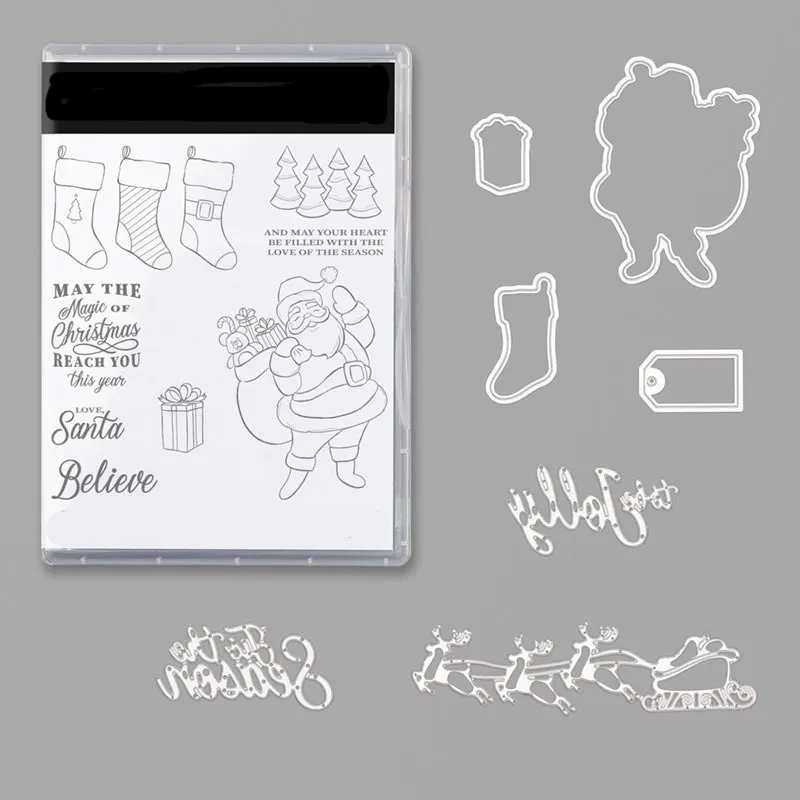
Transparent Silicone Stamp Creative DIY Photo Album

The Transparent Silicone Stamp is a must-have tool for anyone looking to enhance their DIY photo albums and craft projects. With its ability to easily imprint intricate designs and messages, this stamp allows you to add a personal touch to your treasured memories.
Features of the Transparent Silicone Stamp
1. High-Quality Silicone Material
Made from durable, flexible silicone, these stamps offer excellent clarity and detail. They are designed to hold ink well, ensuring crisp impressions every time you use them.
2. Versatile Designs
The stamp set includes a variety of designs and sentiments, from decorative borders and floral patterns to inspirational quotes. This versatility makes it easy to customize your photo albums and other craft projects.
3. Easy to Use
Simply apply your favorite ink to the stamp and press it onto your desired surface. The transparent nature of the silicone allows for precise placement, ensuring your designs are perfectly aligned.
Benefits of Using the Silicone Stamp
1. Personalized Crafting
Add a unique and personal touch to your photo albums, scrapbooks, and other projects. The ability to create customized designs elevates your memory-keeping to an art form.
2. Enhance Creativity
Using these stamps inspires creativity and encourages experimentation with different layouts, colors, and themes. Transform your crafting experience and make every project special.
3. Perfect for Various Projects
In addition to photo albums, these stamps can be used for card making, journaling, and other DIY crafts. Their versatility makes them a valuable addition to any crafting toolkit.
How to Use Your Transparent Silicone Stamp
1. Select Your Design
Choose the stamp design you want to use. Consider how it complements your photos and the overall theme of your album or project.
2. Prepare Your Surface
Ensure the surface of your photo album page or craft item is clean and dry. This will help the ink adhere properly and create a clear impression.
3. Ink the Stamp
Apply a suitable ink pad to the stamp, ensuring even coverage. Press down gently to avoid excess ink smudging.
4. Stamp and Impress
Position the stamp on your chosen surface and press down firmly. Lift the stamp to reveal your design, and let it dry before proceeding with additional embellishments.
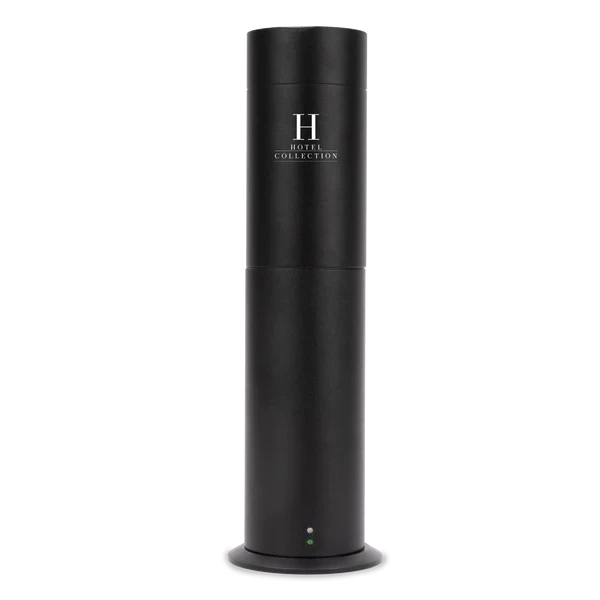
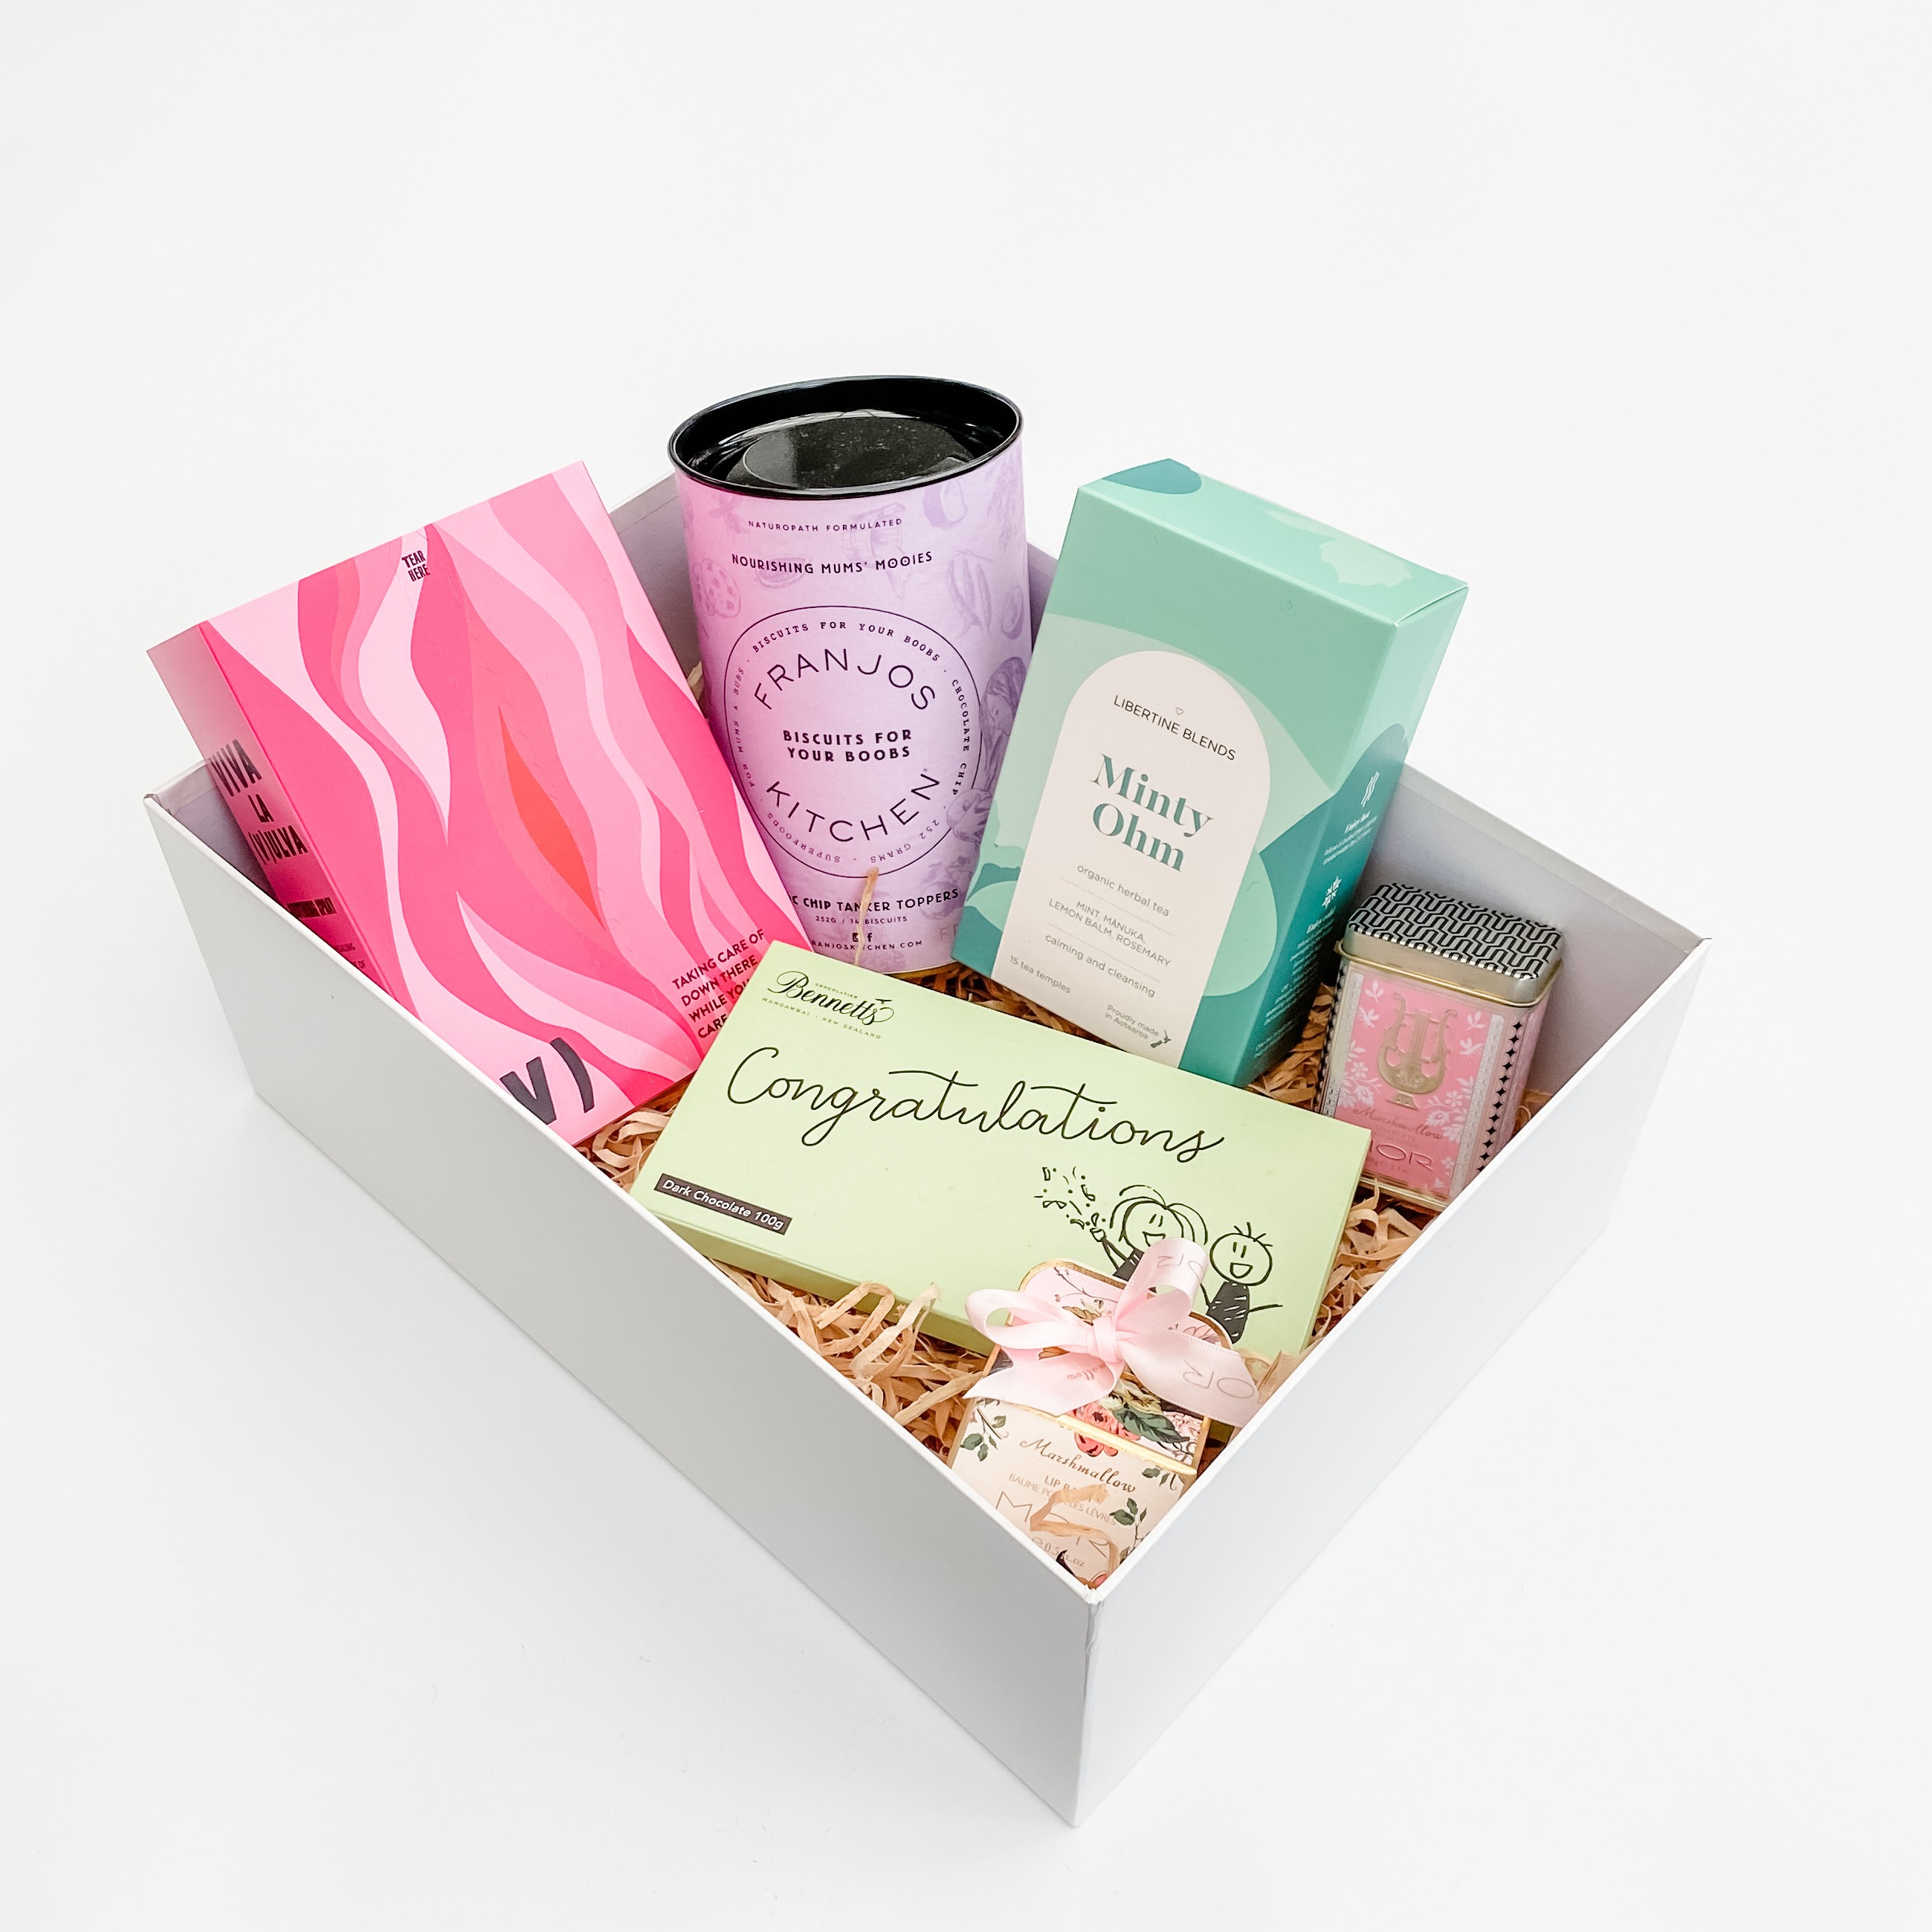
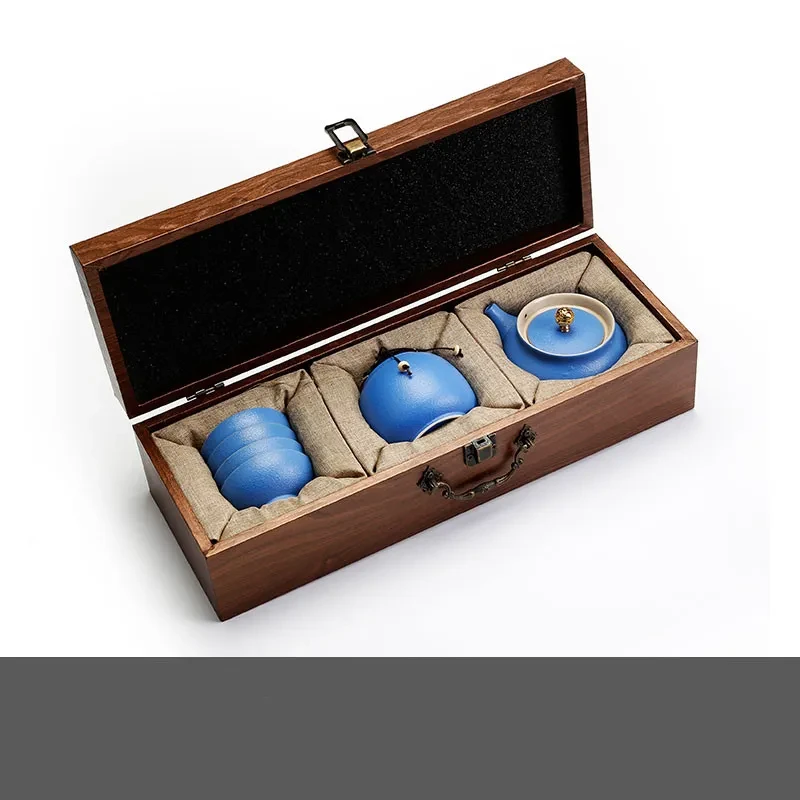
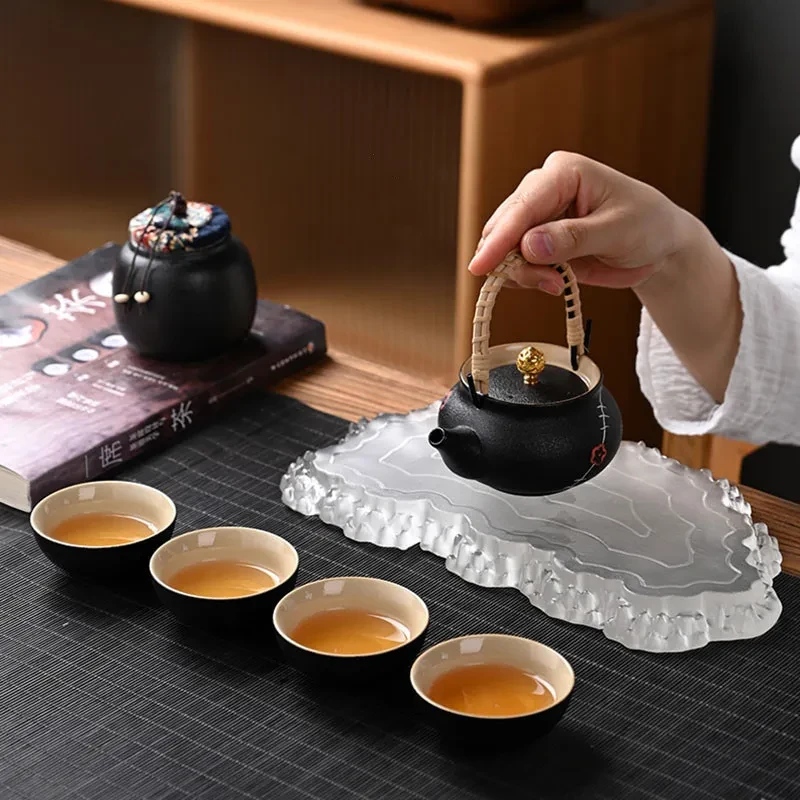
The product may be provided by a different brand of comparable quality.
The actual product may vary slightly from the image shown.
Shop amazing plants at The Node – a top destination for plant lovers


.jpg)


.jpeg)


.jpeg)


.jpeg)


.jpeg)


.jpeg)

.jpeg)

.jpeg)
.jpeg)


.jpeg)
.jpg)
.jpeg)


.jpeg)
.jpeg)


.jpeg)


.jpeg)
.jpeg)

.jpeg)

.jpeg)
.jpeg)


.jpeg)
.jpeg)
.jpeg)


.jpeg)


.jpeg)


.jpg)
.jpeg)


.jpg)


.jpeg)


.png)


.png)