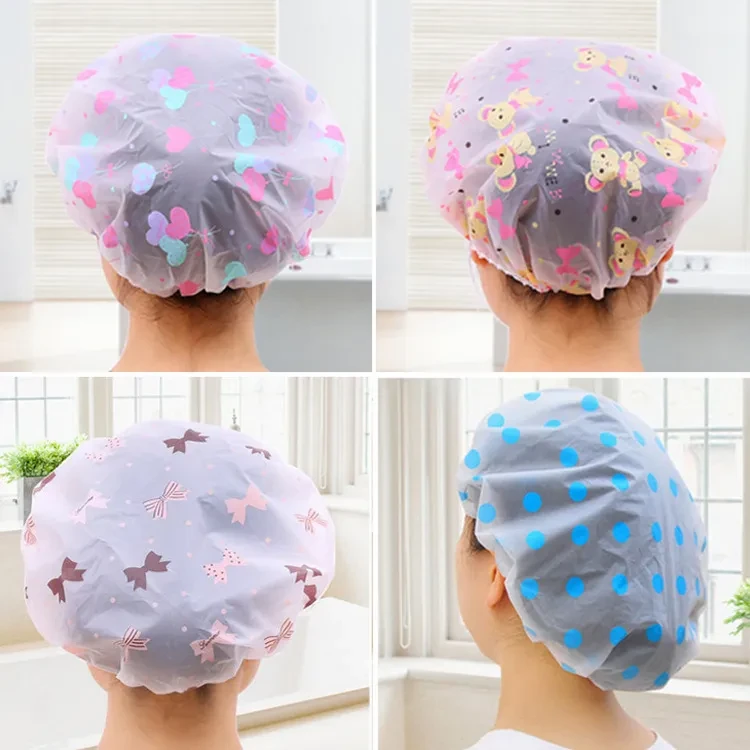
shower cap pattern
Name: Cartoon bath shower cap Japanese style waterproof shower cap shampoo cap
Material: EVA
Size: Diameter: 27cm
Manual measurement has errors
Weight: 13g
Packing: PP bag
Uses: high-quality EVA material, good waterproof, wash your face, bath
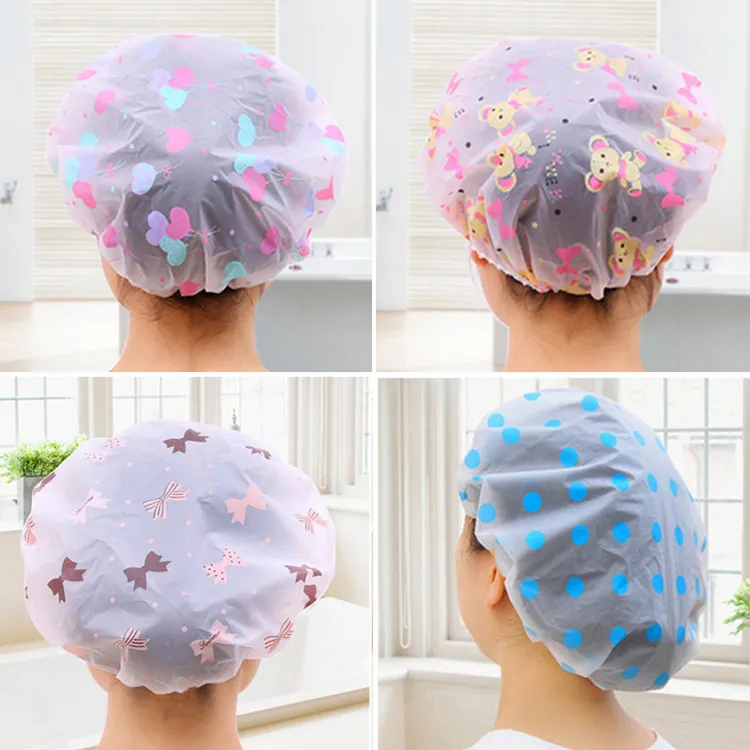
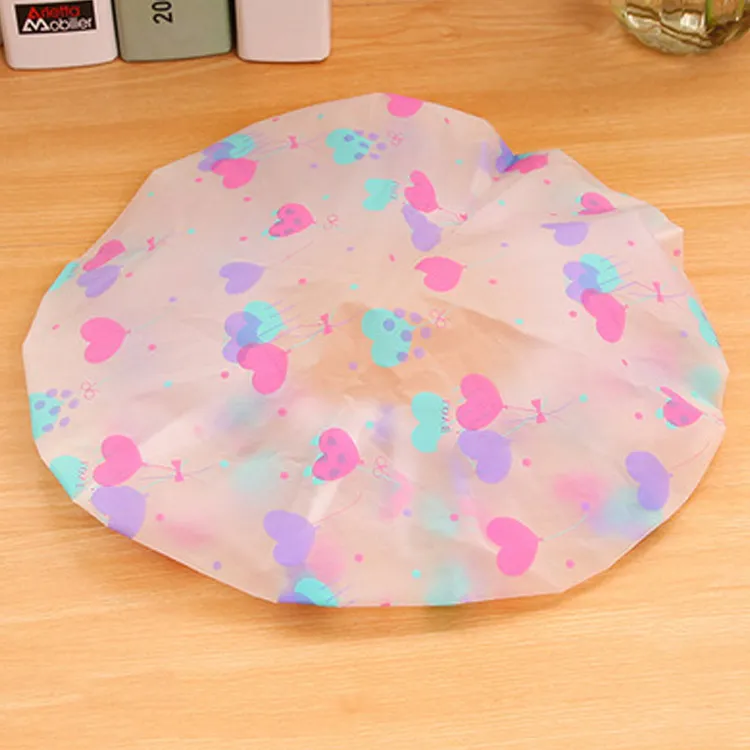
Real photo
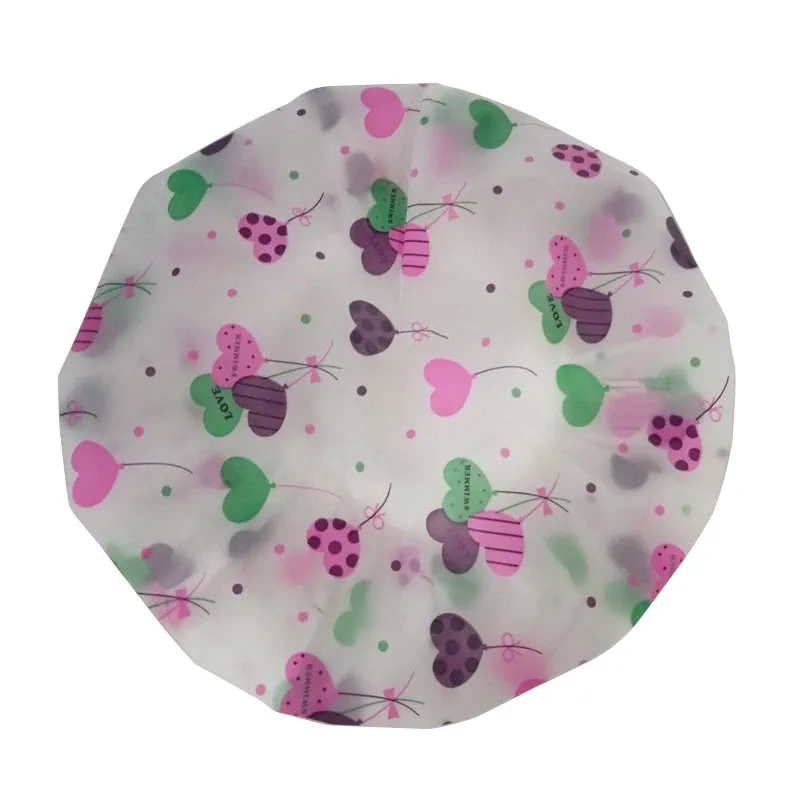
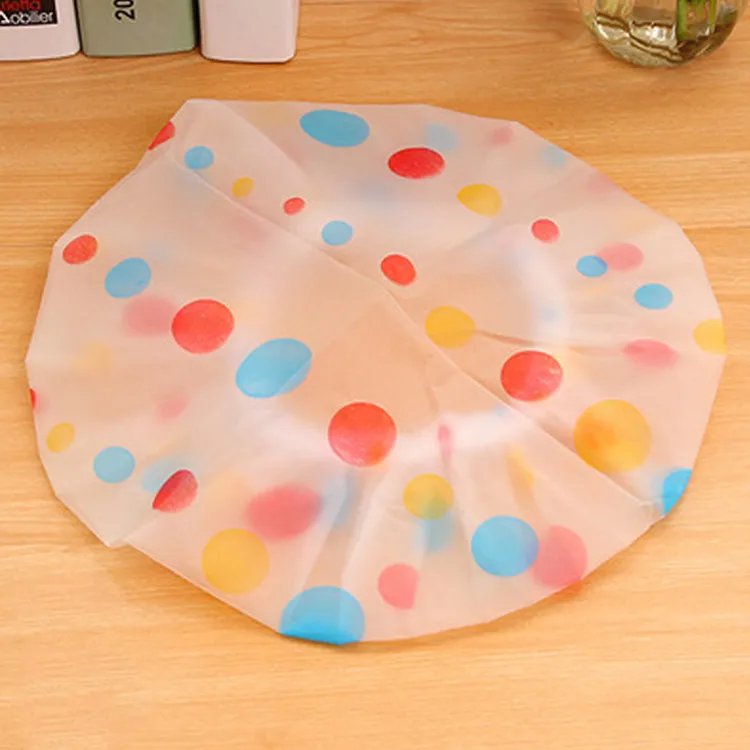
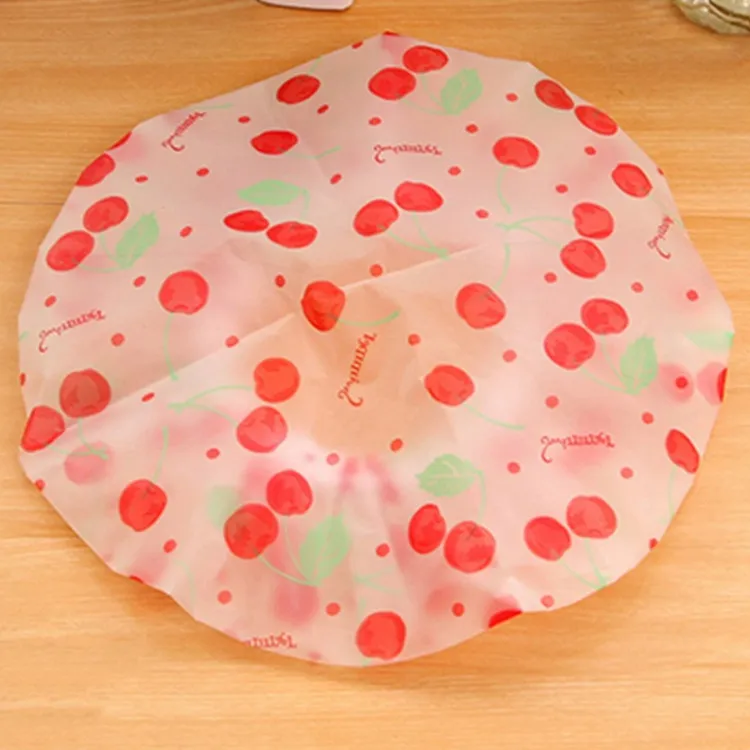
Shower Cap Pattern – DIY Your Own Stylish and Practical Shower Cap
A shower cap is a simple yet essential accessory in many people's daily routines, keeping hair dry and protected during showers. While you can easily purchase one, making your own shower cap can be a fun and rewarding DIY project. Not only can you choose your favorite fabrics and colors, but you also have the satisfaction of creating a functional item that is custom-made to fit your needs. If you're looking to craft your own, here's a basic guide to creating a shower cap pattern and sewing your own personalized shower cap.
What is a Shower Cap?
A shower cap is a protective cover made from waterproof or water-resistant materials, typically worn to protect hair from getting wet while showering or bathing. It typically features an elastic band that allows it to stay securely in place on the head, even when moving. Shower caps are usually made from materials like plastic, vinyl, or laminated fabrics, but for a more eco-friendly or personalized touch, you can make one using your own fabric choices, such as cotton or nylon, paired with waterproof liners.
Why Make Your Own Shower Cap?
Making your own shower cap offers several benefits:
- Customization: Choose the fabric, size, and style that suit you best.
-
Eco-Friendly: By using reusable fabric, you can avoid single-use plastic shower caps, making your showering routine more
sustainable.
-
Personal Touch: Create a design that matches your personal style, whether it's a fun pattern, solid color, or even a fancy
trim.
- Perfect Fit: Tailor the size and fit to your head, ensuring maximum comfort and effectiveness.
Shower Cap Pattern – Materials Needed
To get started, you’ll need the following materials:
-
Waterproof Fabric: Choose a fabric that is waterproof or water-resistant. Options include laminated cotton, nylon, vinyl,
or any fabric with a water-resistant coating.
- Lining Fabric: A soft fabric like cotton or polyester for the inside of the cap to be gentle on your hair.
- Elastic Band: This will allow the cap to stay securely in place around your head.
- Thread: Choose a strong, durable thread that matches the fabric.
- Pins: To hold the fabric pieces in place while sewing.
-
Sewing Machine: If you have one, it will make the process quicker and more efficient, but hand sewing is an option as well.
Creating the Shower Cap Pattern
Follow these steps to create a basic shower cap pattern and sew your own shower cap.
-
Take Measurements:
-
Measure the circumference of your head where you want the cap to sit, around the hairline. This will be the base measurement for the shower
cap’s diameter.
-
Measure the distance from the top of your head to where the shower cap should end (this is typically just above the ears or slightly lower
on the forehead).
-
Measure the circumference of your head where you want the cap to sit, around the hairline. This will be the base measurement for the shower
cap’s diameter.
-
Draw Your Pattern:
-
Start by drawing a circle on a piece of paper. The diameter of the circle should be about 2 to 3 inches larger than the circumference of
your head (this allows room for the elastic).
- To draw the circle, you can use a compass or trace a round object with the appropriate diameter.
-
Next, from the edge of the circle, measure down the length you determined in step 1 (from the top of your head to the desired bottom of the
cap) and draw a second curved line, making a large "D" shape. This will be the basic shape of the shower cap.
-
Start by drawing a circle on a piece of paper. The diameter of the circle should be about 2 to 3 inches larger than the circumference of
your head (this allows room for the elastic).
-
Add Seam Allowances:
-
Add a seam allowance around the outer edge of the circle (typically about 1/4 inch to 1/2 inch), so you’ll have enough fabric for stitching.
- For the bottom edge, add an extra inch or so to allow for the elastic casing.
-
Add a seam allowance around the outer edge of the circle (typically about 1/4 inch to 1/2 inch), so you’ll have enough fabric for stitching.
-
Cut Out the Pattern:
-
Cut out your pattern from the paper and use it to cut the fabric. You’ll need two pieces: one for the waterproof outer fabric and one for
the inner lining fabric.
-
If you’re using a patterned fabric, be sure to position the pattern pieces carefully to ensure the design is oriented correctly.
-
Cut out your pattern from the paper and use it to cut the fabric. You’ll need two pieces: one for the waterproof outer fabric and one for
the inner lining fabric.
-
Sewing the Shower Cap:
-
Begin by sewing the lining fabric to the waterproof fabric along the edges. You can use a simple straight stitch, keeping the seam allowance
in mind. Make sure the fabrics are facing each other so the seams are on the inside.
-
Once the two fabrics are sewn together, hem the bottom edge of the cap, folding it over once and stitching it down to create a casing for
the elastic.
-
Thread the elastic through the casing using a safety pin, pulling it through until it’s evenly distributed around the bottom edge. Stitch
the ends of the elastic securely, making sure it's tight enough to keep the cap snug around your head.
-
Begin by sewing the lining fabric to the waterproof fabric along the edges. You can use a simple straight stitch, keeping the seam allowance
in mind. Make sure the fabrics are facing each other so the seams are on the inside.
-
Finishing Touches:
-
If you want to add any decorative touches, such as lace, ruffles, or a bow, you can sew them onto the outer fabric or along the edge of the
cap.
- Give your shower cap a quick press with an iron (be cautious if using vinyl or plastic materials to avoid melting).
-
If you want to add any decorative touches, such as lace, ruffles, or a bow, you can sew them onto the outer fabric or along the edge of the
cap.
Alternative Style Ideas
If you want to get creative, here are a few alternative ideas for making your shower cap even more unique:
-
Ruffled Edges: Add a ruffled edge to the bottom of your shower cap by sewing a strip of fabric to create a gathered effect.
-
Personalization: Add your name or initials to the cap using fabric paint or embroidery for a more personalized touch.
-
Holiday Themes: Use festive fabrics like holiday prints or bold colors to create a shower cap that celebrates the season.
-
Adjustable Straps: For a slightly different design, you could add an adjustable strap with a snap or Velcro closure instead
of an elastic band, allowing for a more customized fit.
Why Choose a DIY Shower Cap?
Creating your own shower cap is not only a fun craft project but also a practical one. By making your own, you can:
- Choose fabrics that are gentle on your hair and skin.
- Create a custom design that fits your style and preferences.
- Reduce waste by opting for reusable, sustainable materials.
- Make it a perfect gift or a fun addition to your self-care routine.
Conclusion
A personalized shower cap can be an eco-friendly, practical, and stylish addition to your bathroom essentials. With the right materials and a simple shower cap pattern, you can create a functional item that perfectly fits your head and showcases your personal style. Whether you're looking for a basic design or a fun, ruffled cap, this DIY project offers endless possibilities for customization and creativity. Plus, making your own shower cap ensures you’ll have a unique, long-lasting accessory that’s both effective and stylish!
The product may be provided by a different brand of comparable quality.
The actual product may vary slightly from the image shown.
Shop amazing plants at The Node – a top destination for plant lovers

.png)





.jpg)





.jpg)




.jpeg)


.jpeg)


.jpeg)


.jpeg)


.jpeg)

.jpeg)

.jpeg)

.jpeg)


.jpeg)
.jpg)

.jpeg)


.jpeg)
.jpeg)


.jpeg)




.jpeg)


.jpeg)

.jpeg)

.jpeg)

.jpeg)



.jpeg)
.jpeg)
.jpeg)




.jpeg)



.jpeg)




.jpg)
.jpeg)




.jpg)


ulva-Logo.jpg)


.jpeg)



.png)










.png)
