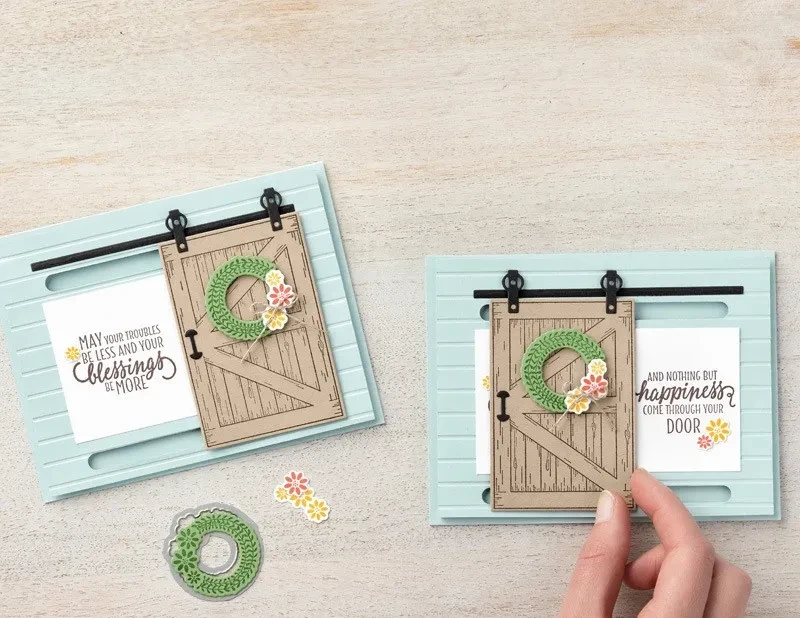
Photo Album Greeting Card Material Embossing Mold

The Hand Account Photo Album Greeting Card Material Embossing Mold is an essential tool for crafters looking to enhance their projects with beautiful embossed designs. This versatile mold allows you to create stunning textures and patterns, perfect for personalizing photo albums, greeting cards, and other creative endeavors.
Features of the Embossing Mold
1. Intricate Embossing Designs
The mold features a variety of intricate patterns that can add depth and elegance to your projects. From floral motifs to geometric shapes, these designs will elevate the aesthetic of any photo album or card.
2. High-Quality Materials
Made from durable materials, this embossing mold is designed for repeated use. It produces crisp and clear impressions, ensuring that your embossed designs look professional and polished.
3. Easy to Use
The embossing process is straightforward. Simply place your chosen material inside the mold, apply pressure using a die-cutting machine or manual pressure, and reveal your beautiful embossed design.
Benefits of Using the Hand Account Embossing Mold
1. Enhances Creativity
This mold encourages you to explore new design ideas and techniques. Use it to create unique textures and patterns that will make your photo albums and greeting cards stand out.
2. Perfect for Personalization
Adding embossed designs gives a personal touch to your albums and cards. Customize each project to reflect your style and the memories you want to highlight.
3. Ideal for Gifting
The Hand Account Embossing Mold is a thoughtful addition to any crafter's toolkit. Create handmade cards or custom photo album pages that make memorable gifts for friends and family.
How to Use Your Embossing Mold
1. Select Your Material
Choose the paper or cardstock you want to emboss. Ensure it is compatible with the mold and suitable for your project’s theme.
2. Prepare the Mold
Place the embossing mold on a flat surface and insert your material inside. Adjust it to ensure proper alignment for the best results.
3. Apply Pressure
Using a die-cutting machine or manual pressure, press down firmly on the mold to create the embossed design. Carefully remove the material to reveal your stunning pattern.
4. Incorporate into Your Project
Once you have your embossed design, incorporate it into your greeting cards or photo album pages. Use adhesive or other embellishments to enhance your final creation.
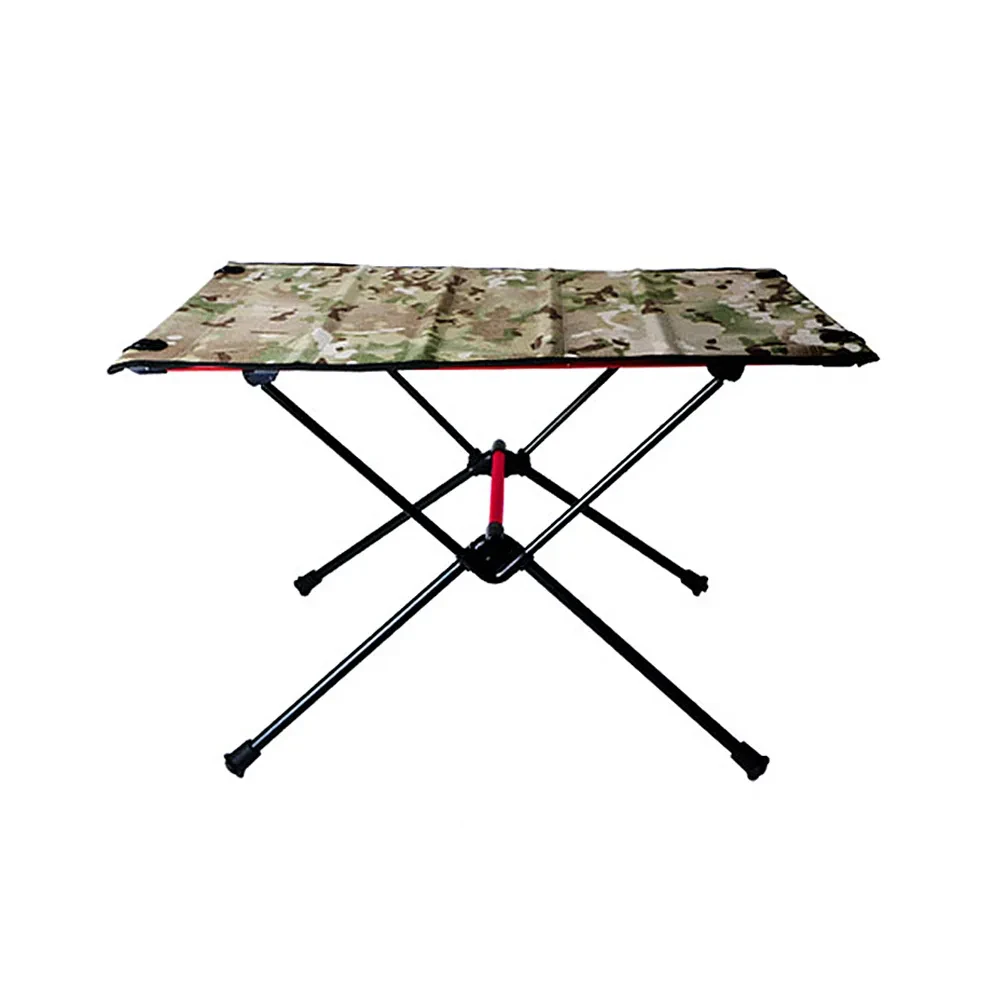
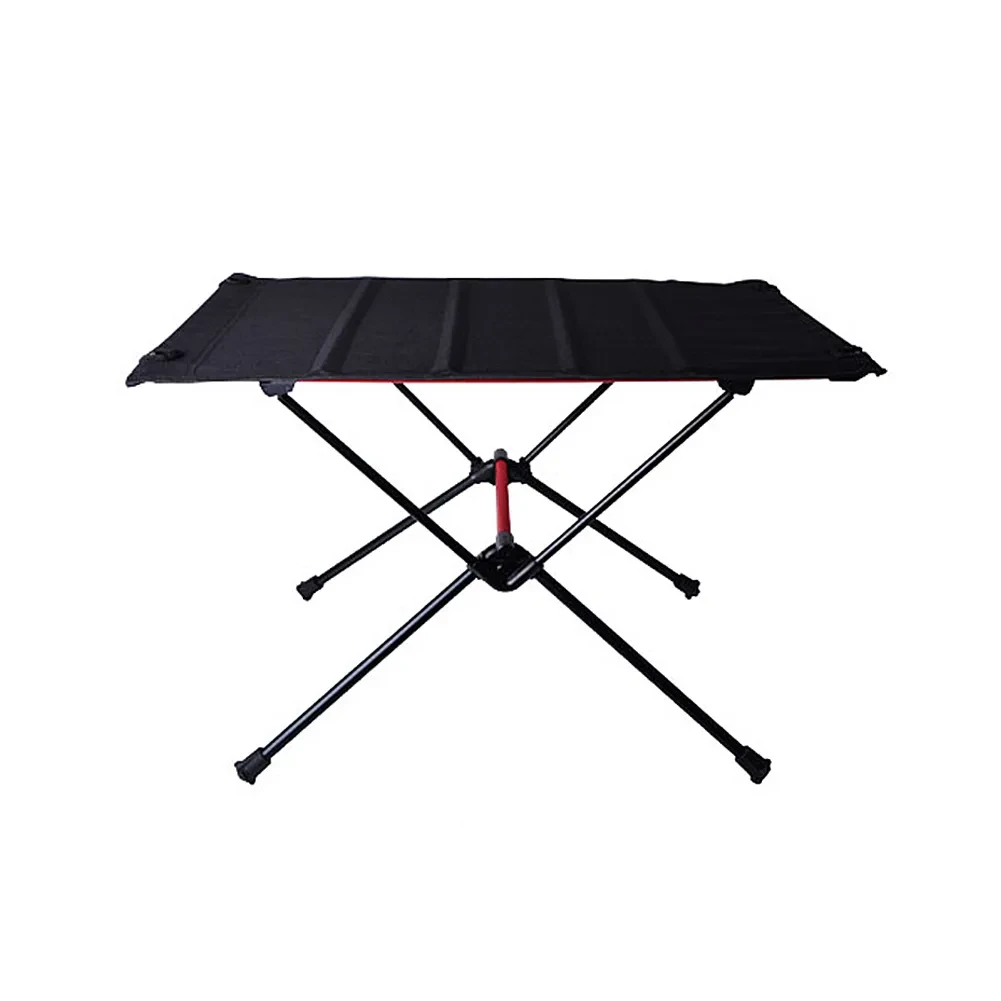
The product may be provided by a different brand of comparable quality.
The actual product may vary slightly from the image shown.
Shop amazing plants at The Node – a top destination for plant lovers


.jpg)


.jpeg)


.jpeg)


.jpeg)


.jpeg)


.jpeg)

.jpeg)

.jpeg)
.jpeg)


.jpeg)
.jpg)

.jpeg)


.jpeg)
.jpeg)


.jpeg)


.jpeg)
.jpeg)

.jpeg)

.jpeg)
.jpeg)


.jpeg)
.jpeg)
.jpeg)


.jpeg)


.jpeg)


.jpg)
.jpeg)


.jpg)


.jpeg)


.png)


.png)