Flocking Instructions
Approx $38.48 USD

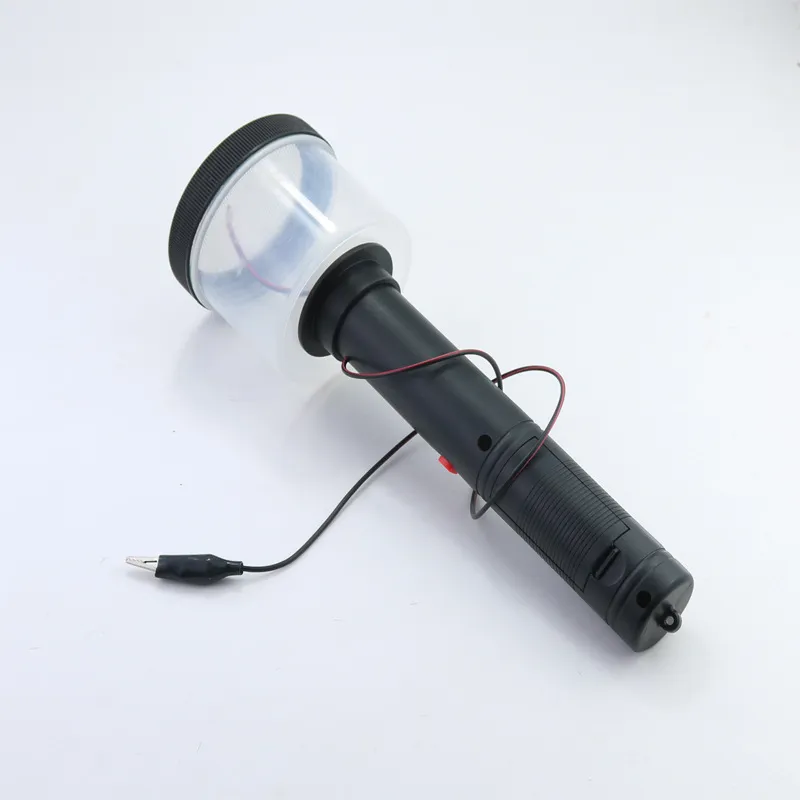
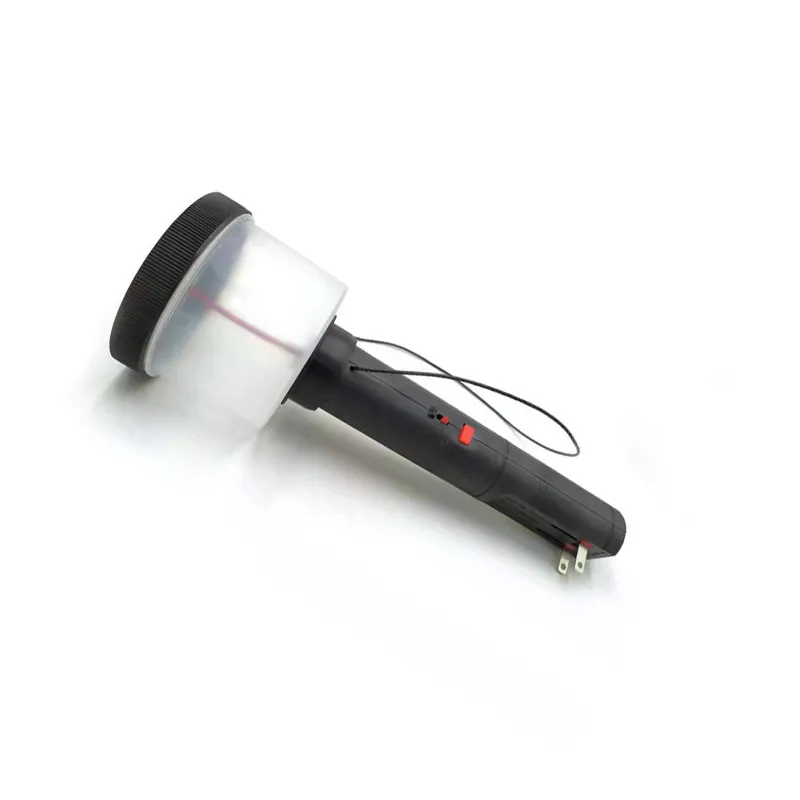
DescriptionMaterialPlasticProduct AttributesOrdinaryPackage Size250*150*50(1mm)Product information:
Material: ABS
Category: Building model
Product Name: electrostatic grass planting machine
Rated output voltage: 5000V
Product Use: can be used for DIY handmade scene, sand table, building model, micro landscape lawn production
Packing list:
Grass planting machine * 1 set
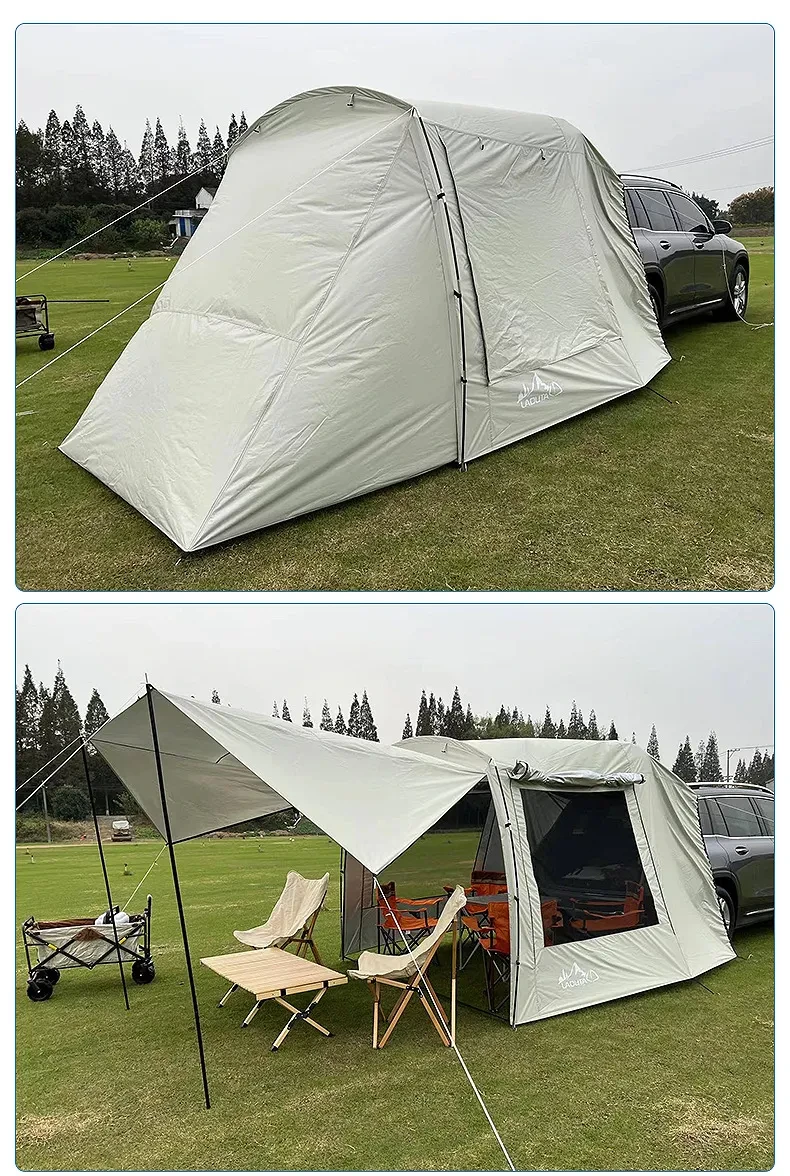
Product Image:

Flocking Instructions: How to Apply Flock to Your Projects
Flocking is a technique that adds a soft, velvety texture to surfaces by adhering small fibres (known as flock) to a surface using adhesive. This process is perfect for a wide range of crafts, including DIY projects, home décor, model making, and even automotive restoration. Here are step-by-step instructions for successfully applying flocking to your projects.
Materials You Will Need:
- Flock fibers (available in various colours and textures)
- Flocking adhesive (specifically designed for applying flocking)
- Paintbrush or foam brush (for applying adhesive)
- Flocking applicator (optional, but helpful for larger areas)
- A clean surface (such as the object you are flocking)
- Drop cloth or newspaper (to protect surrounding surfaces from excess flock)
- Clear coat or sealer (optional, for durability and protection)
Step-by-Step Flocking Instructions:
1. Prepare the Surface
-
Ensure that the surface you are flocking is clean, dry, and free of any dust or oils. You can wipe down the surface with a damp cloth and
allow it to dry completely. This ensures better adhesion of the adhesive and flock fibers.
2. Apply the Adhesive
-
Use a brush or foam applicator to evenly apply a thin layer of flocking adhesive to the surface. It’s important to apply the adhesive in
thin, even coats to avoid clumping.
-
If you are working on a larger surface, you may want to use a spraying method for the adhesive, ensuring that the entire area is covered.
Make sure the adhesive is tacky before proceeding with the next step (this usually takes around 10-15 minutes depending on the adhesive).
3. Apply the Flock
-
Once the adhesive has become tacky, take the flock fibers and apply them to the surface. You can sprinkle the flock manually or use a flocking
applicator
for a more uniform application.
-
If you’re using an applicator, hold it about 6-8 inches above the surface and gently shake or tap the applicator to release the flock fibers
evenly across the adhesive-covered area. This helps ensure a consistent and smooth finish.
4. Let the Flock Settle
-
Allow the flock to settle on the adhesive for a few minutes, then tap the object gently to remove any excess flock. Be sure not to disturb
the flock too much, as it could affect the texture or pattern.
5. Press Down the Flock
-
Use a soft brush or your hand (wear gloves to avoid oils from your skin) to lightly press down the flock onto the surface. This helps the
fibers bond better with the adhesive and creates a smooth, even texture.
6. Allow to Dry
-
Let the flocked surface dry completely. The drying time varies depending on the adhesive used, but typically it takes between 24 to 48 hours
for full curing. Ensure that the object is in a dust-free environment during the drying process to prevent particles from sticking to the
wet adhesive.
7. Seal and Protect (Optional)
-
For a more durable finish, you can apply a clear coat or sealer to protect the flocked surface. This will
help to lock in the fibers and prevent them from shedding or wearing off over time.
-
If you are using flocking on a high-touch area, or if the project will be exposed to the elements, sealing is highly recommended.
8. Clean Up Excess Flock
-
Once the adhesive is fully dry, gently brush off any remaining excess flock that didn’t adhere. Use a vacuum cleaner or a gentle brush to
clean up the surrounding area where the flock may have fallen.
Additional Tips:
-
Work in a Well-Ventilated Area: Always apply flocking in a well-ventilated space to avoid inhaling the dust or fumes from
the adhesive.
-
Use Gloves: Flock fibers can be messy, so wearing gloves will help keep your hands clean during the application process.
-
Test on a Small Area: Before flocking large projects, try flocking a small test section to ensure you’re happy with the
texture and colour.
-
Color Combinations: Experiment with different flock colors or textures for a multi-dimensional or patterned effect.
Common Applications for Flocking:
- Home Décor: Enhance items like picture frames, lampshades, or storage boxes with a velvet-like finish.
- Crafting: Flock greeting cards, scrapbooks, or other paper crafts to add texture and visual interest.
- Model Making: Use flocking for scale models, creating realistic grassy or textured surfaces.
- Automotive: Flock the interior of cars, such as dashboards or door panels, for a stylish, high-end look.
Why You Should Use Flocking:
-
Adds Texture: Flocking provides a soft, luxurious texture that can transform ordinary objects into eye-catching pieces.
- Versatile: It can be used on a wide range of materials, including wood, metal, plastic, and fabric.
-
Affordable: Flocking is a cost-effective way to upgrade and enhance the look of various items without needing to replace
them.
Meta Tag Description:
Flocking instructions to help you achieve a smooth, velvety finish for your projects. Learn how to apply flocking to create textured effects on home décor, crafts, models, and more.
SEO Keywords:
flocking instructions, how to flock, flocking techniques, DIY flocking, flocking for crafts, home décor flocking, model flocking, how to apply flocking, flocking application guide, flocking materials
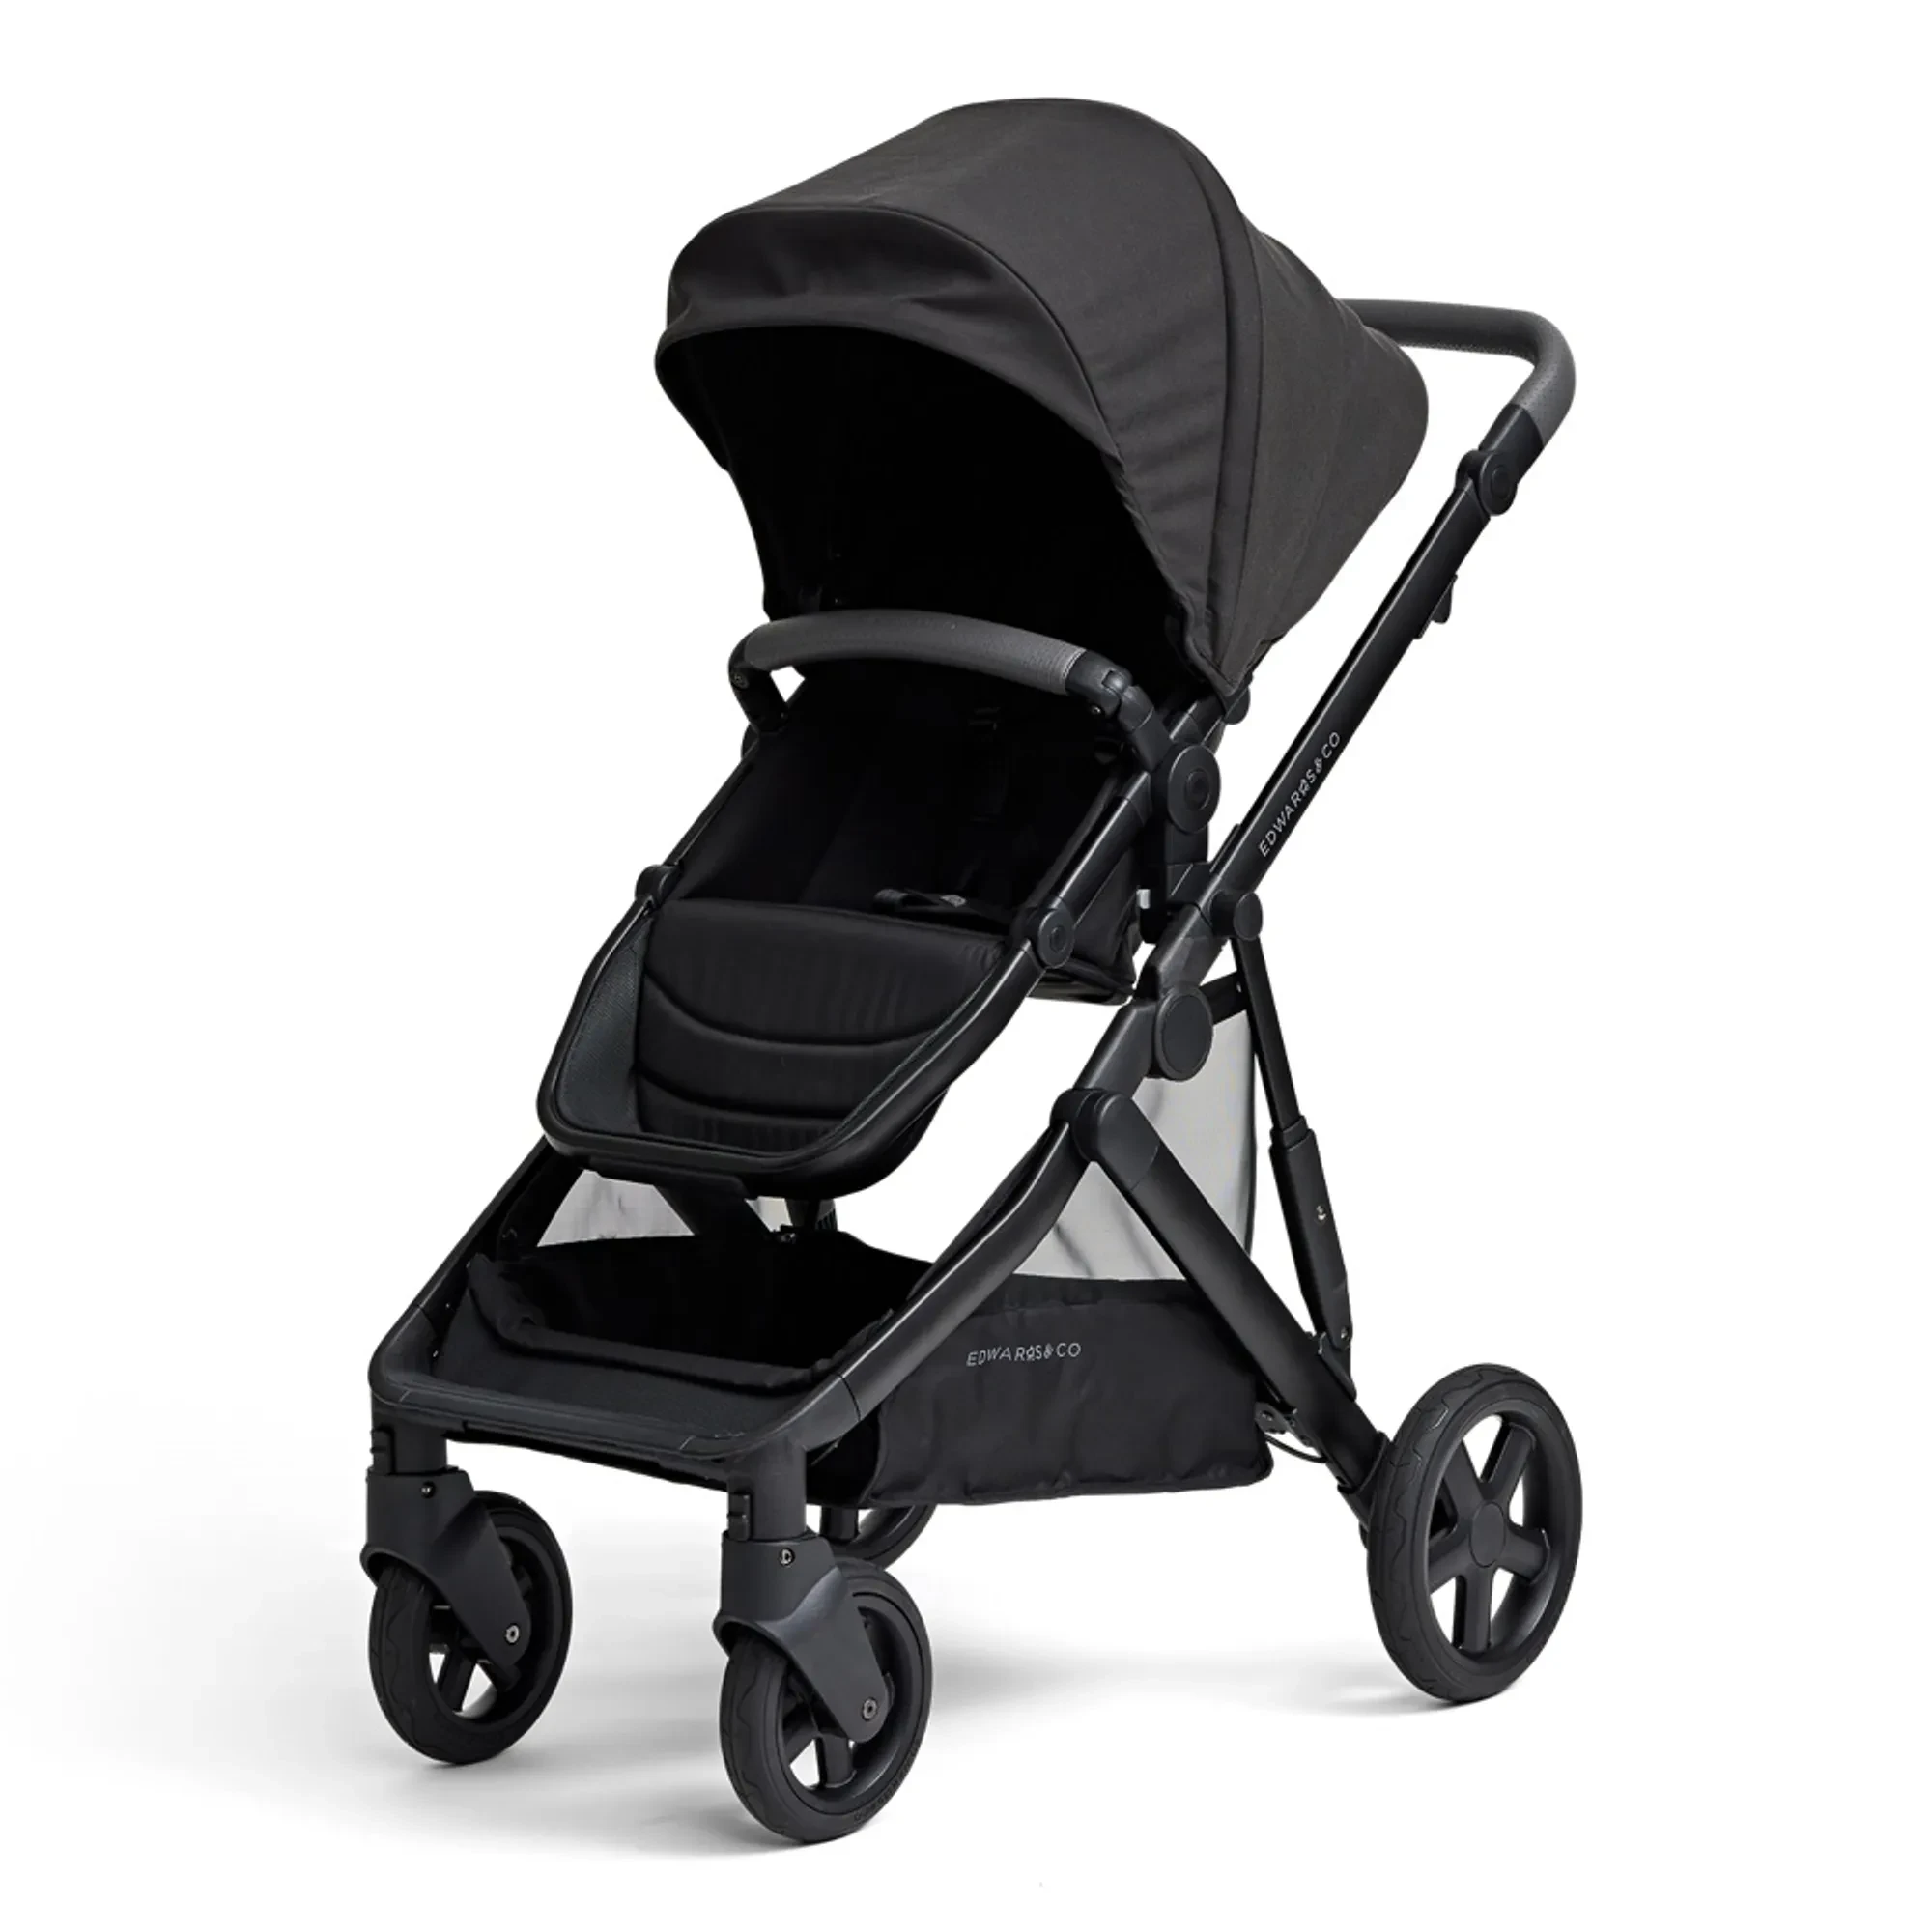
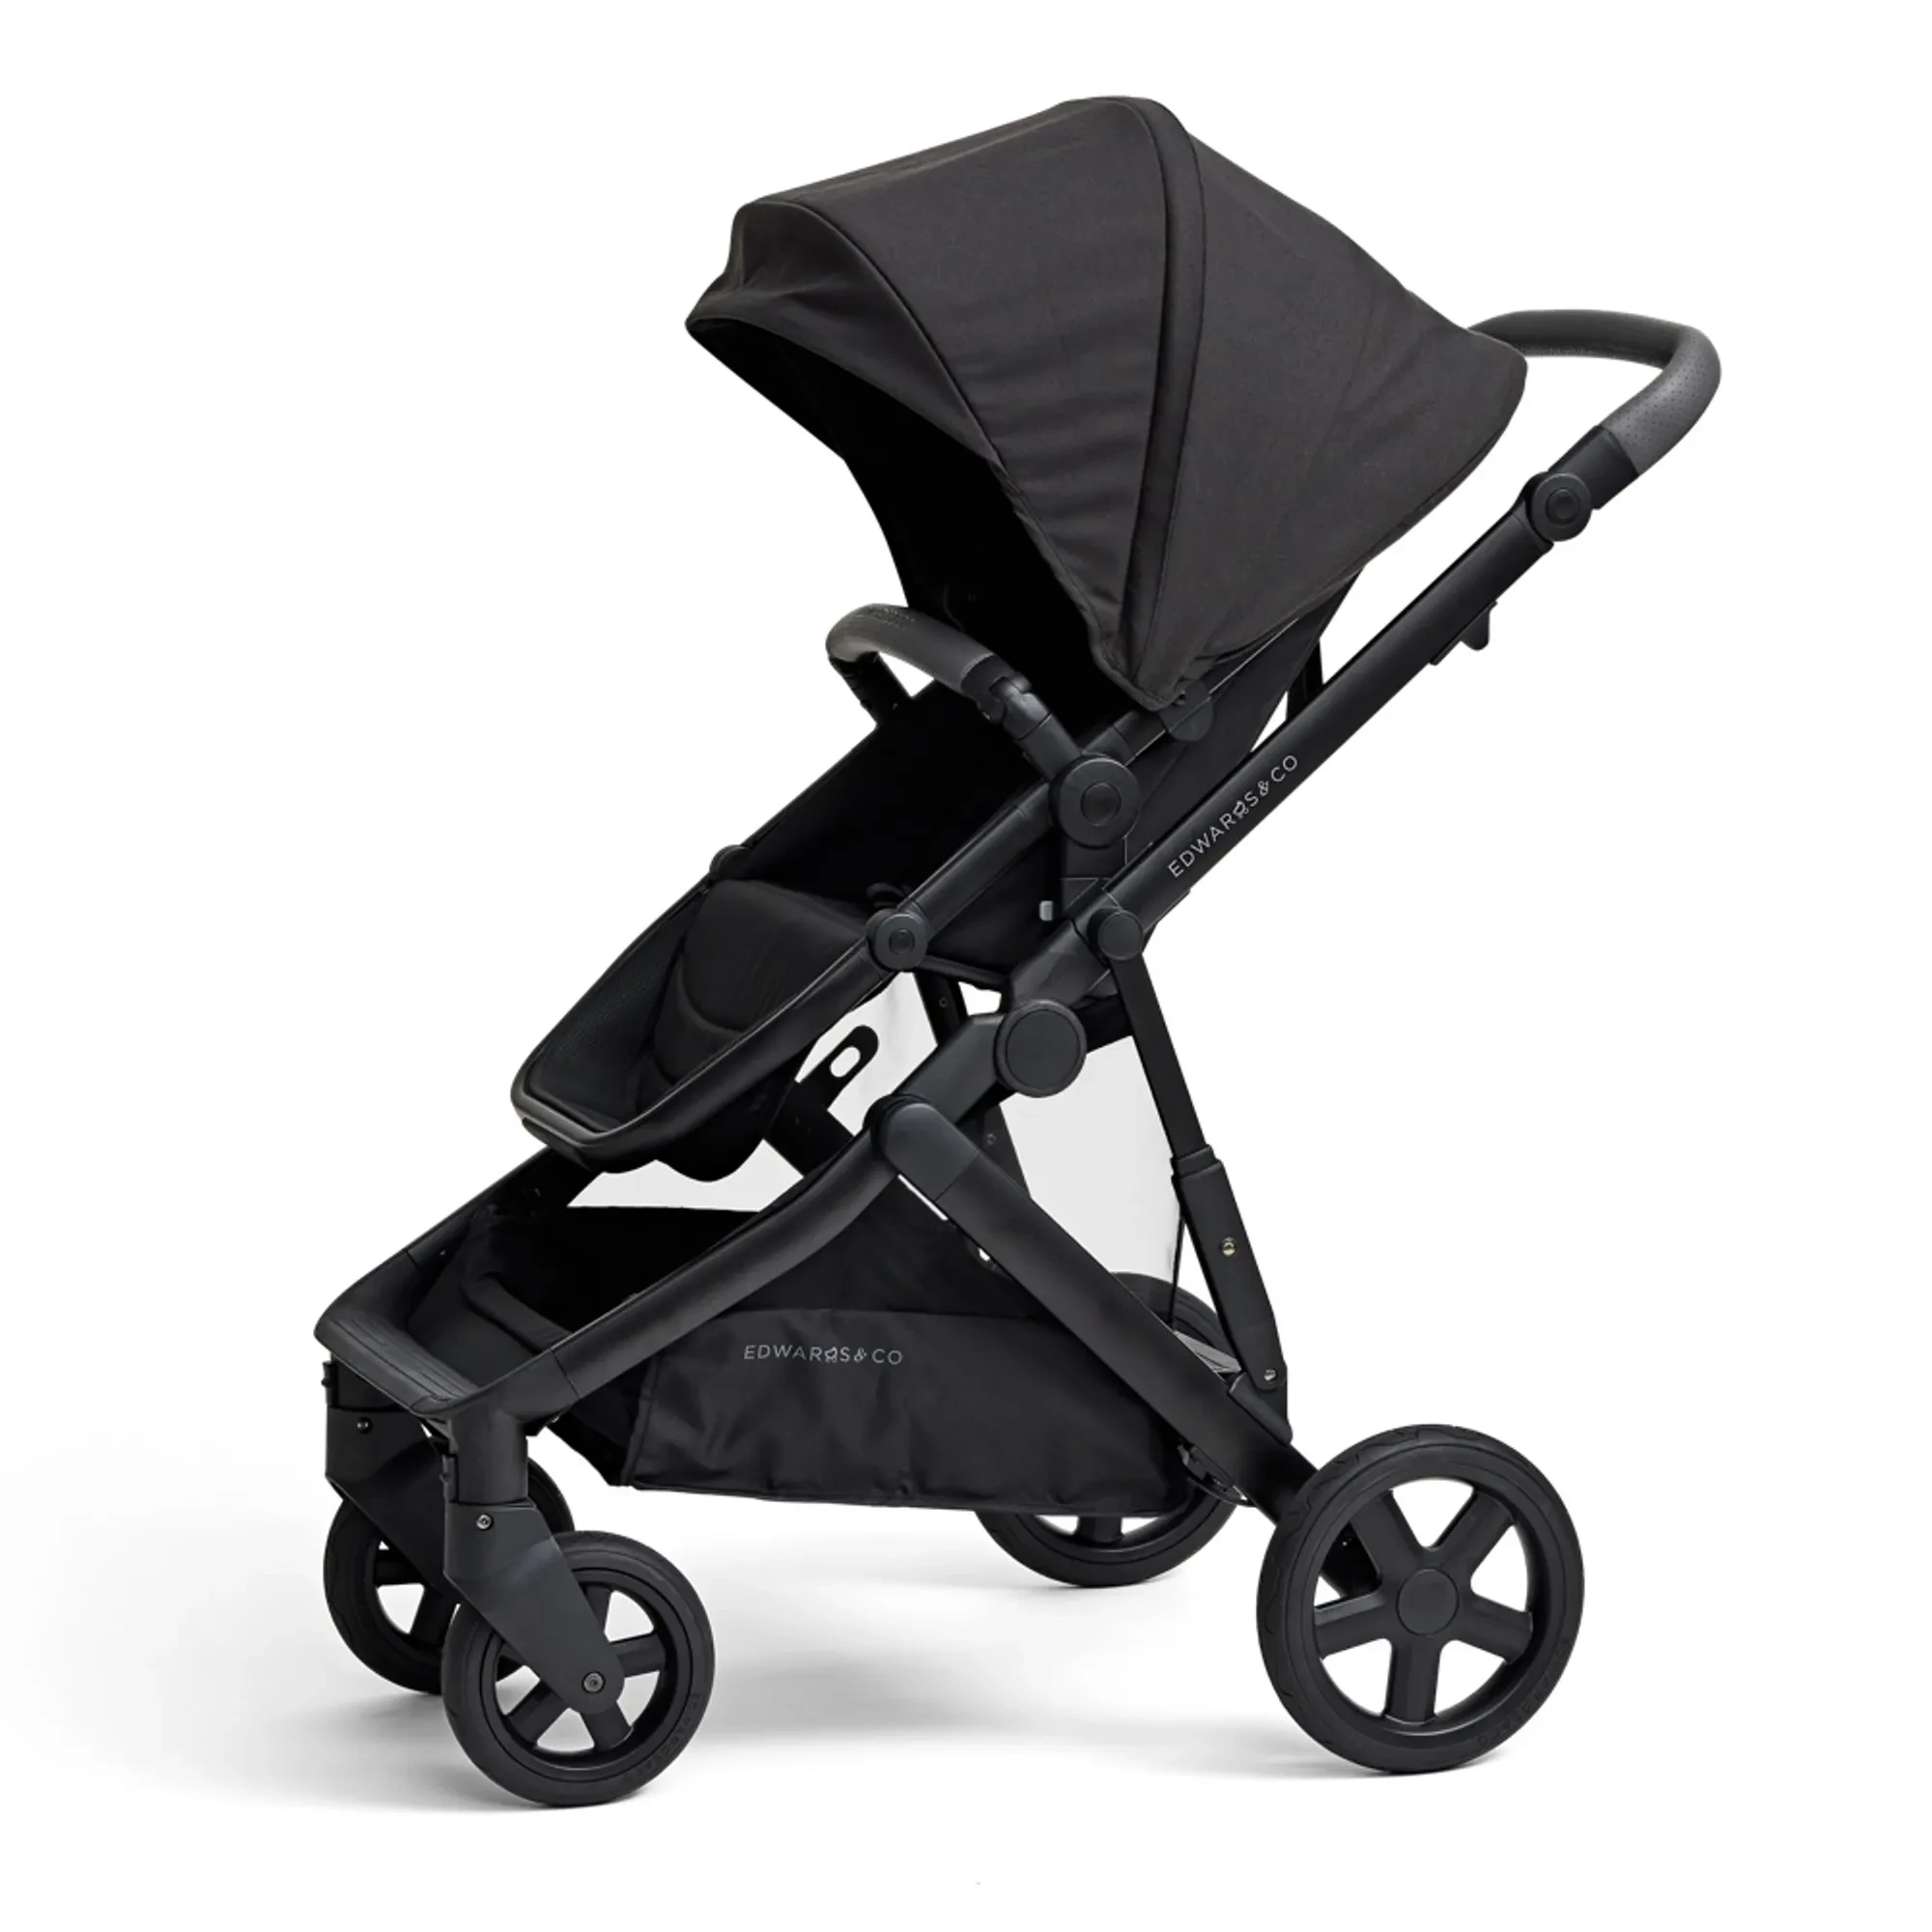
The product may be provided by a different brand of comparable quality.
The actual product may vary slightly from the image shown.
Shop amazing plants at The Node – a top destination for plant lovers
.webp)
.webp)


.jpg)


.jpeg)


.jpeg)

.jpeg)


.jpeg)


.jpeg)

.jpeg)

.jpeg)
.jpeg)


.jpeg)
.jpg)

.jpeg)


.jpeg)
.jpeg)


.jpeg)


.jpeg)

.jpeg)

.jpeg)

.jpeg)
.jpeg)


.jpeg)
.jpeg)
.jpeg)


.jpeg)


.jpeg)


.jpg)
.jpeg)


.jpg)


.jpeg)


.png)


.png)