Step By Step Home Renovation Checklist


Lámpara LED de noche plegable, táctil y regulable, recargable por USB, para decoración del hogar
Gift Tree


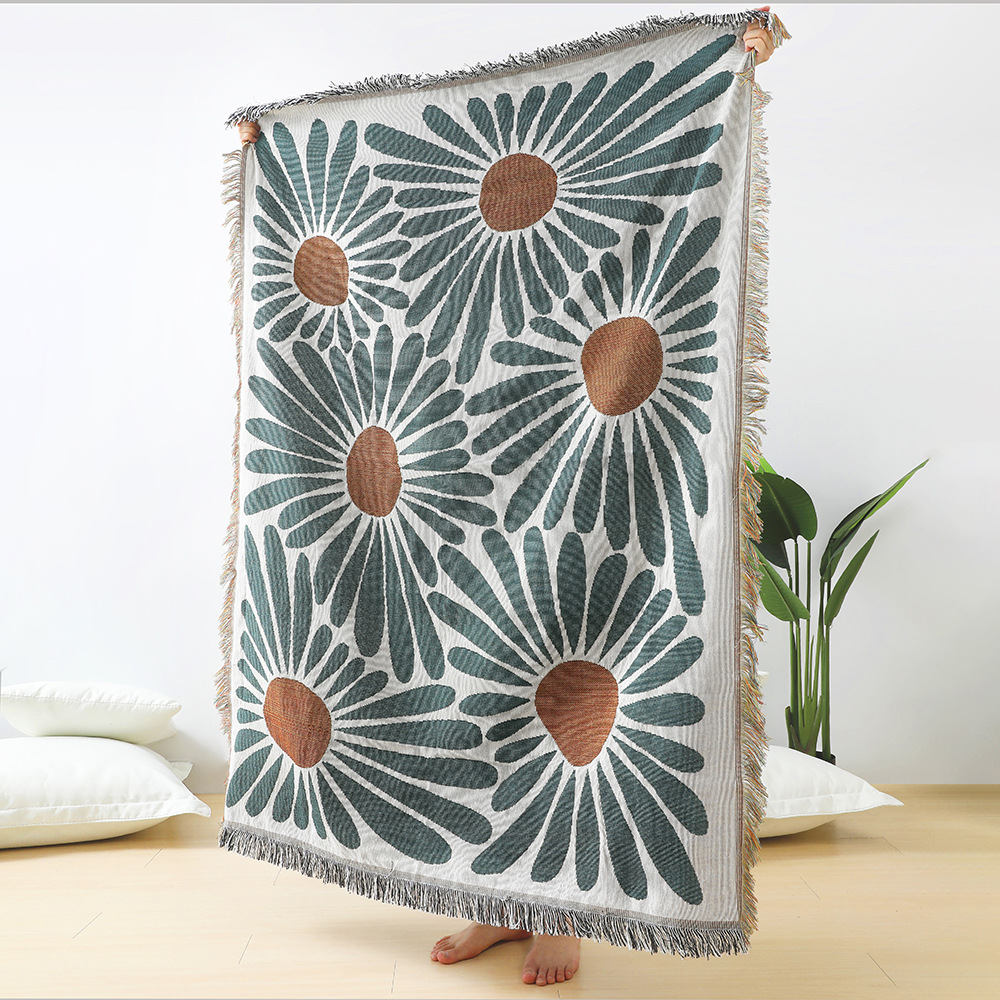
Las mantas de cama de franela y las colchas de toalla tienen excelentes propiedades de aislamiento térmico y pueden proteger del frío.
Gift Tree
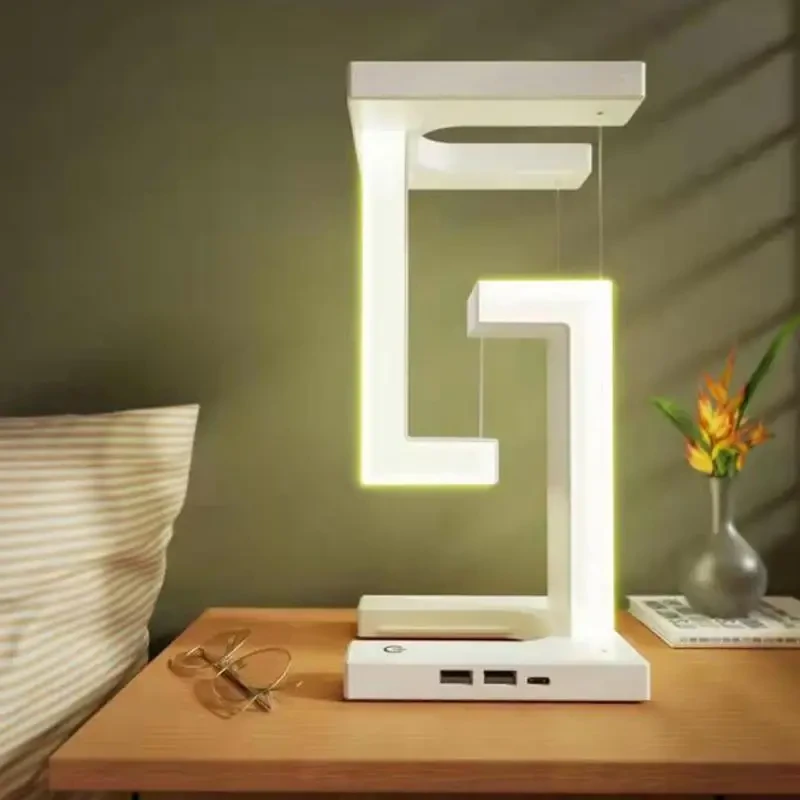
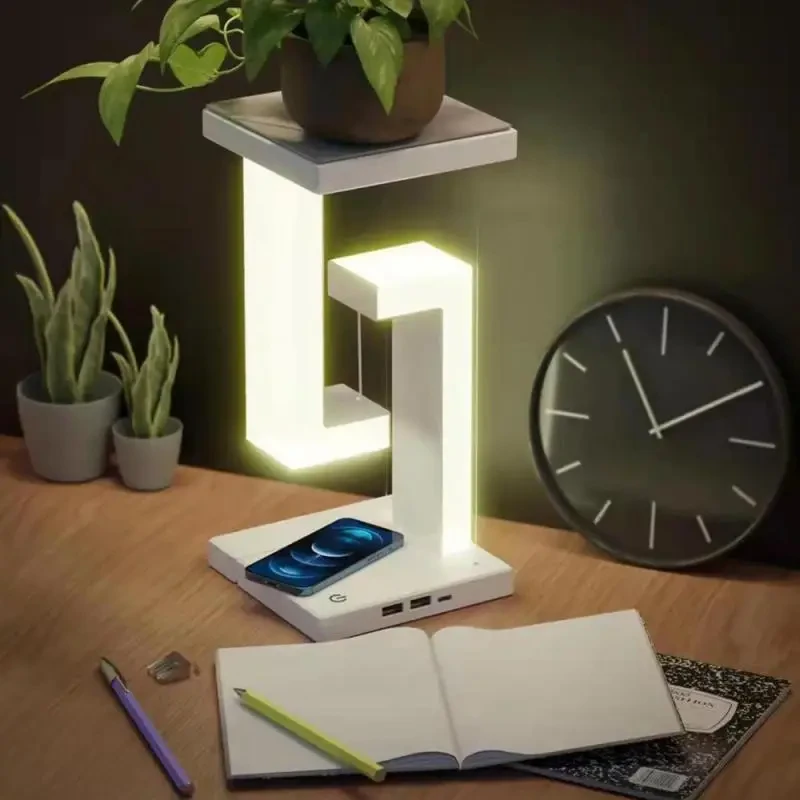
LED Table Lamp - Suspended Anti-Gravity Wireless Charging Desk Light
Gift Tree


Luz de ambiente de aromaterapia para portaequipajes de coche con cielo estrellado
Gift Tree


OFERTA 49% DE DESCUENTO - Pala deslizante para pizza | ¿Viene con una pizza?
Gift Tree

.webp)
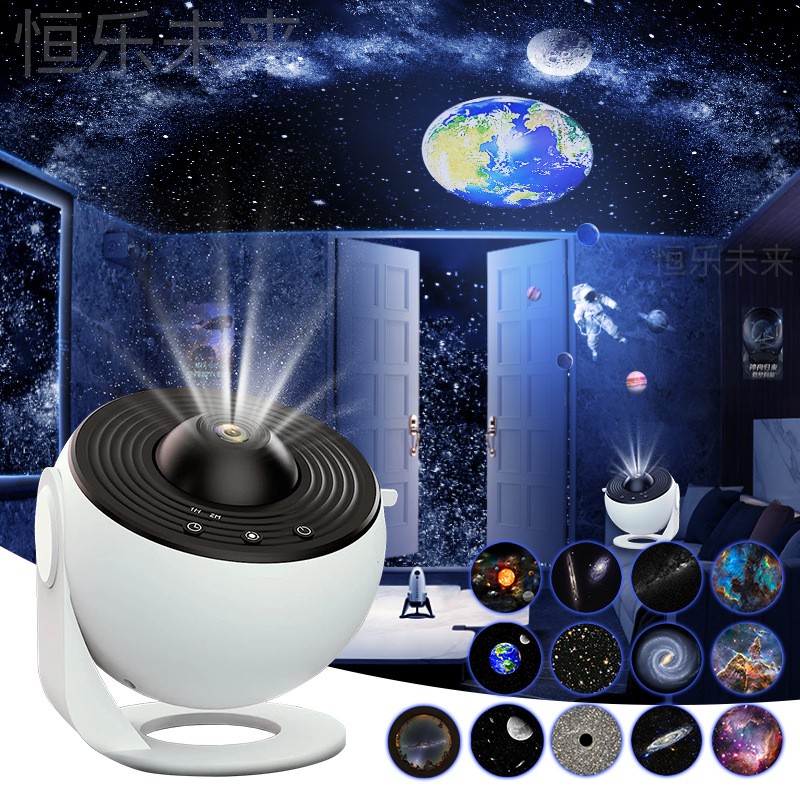
Proyector de galaxia dinámico de mesa para interiores con luz nocturna LED de cielo estrellado creativo.
Gift Tree

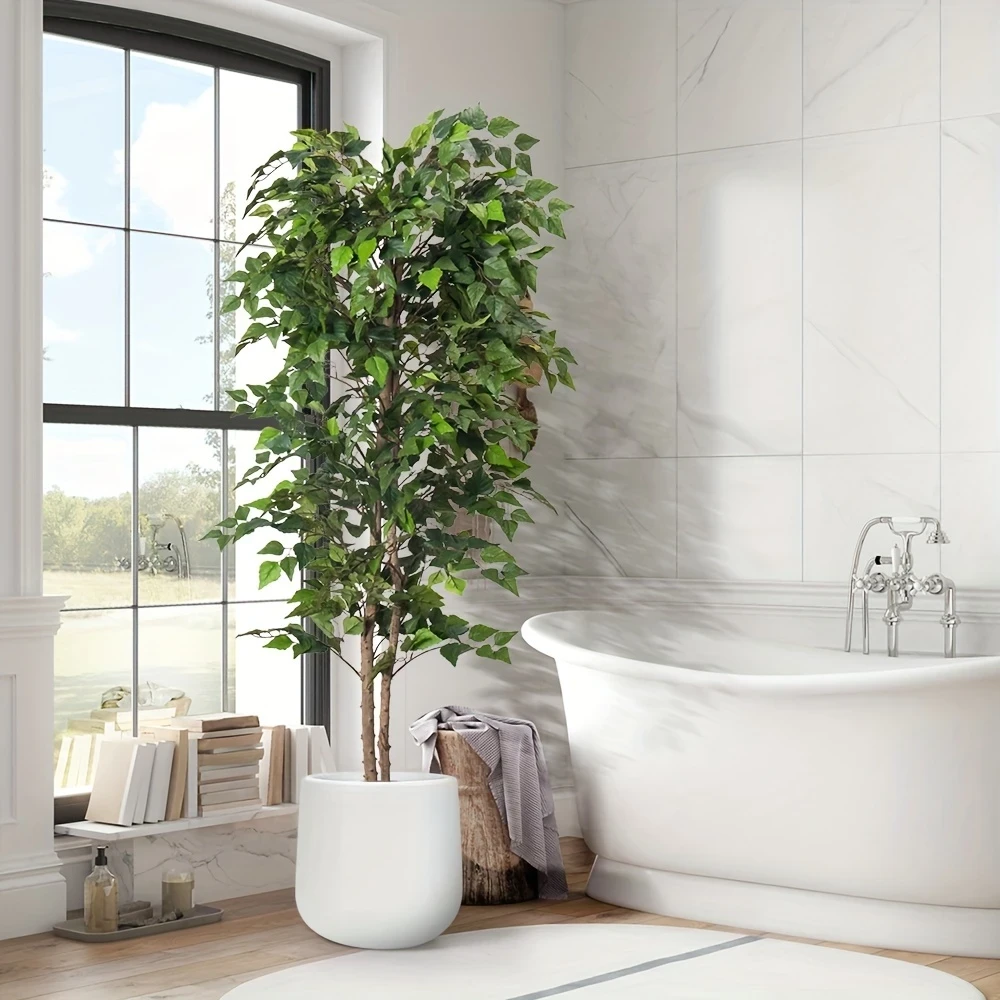
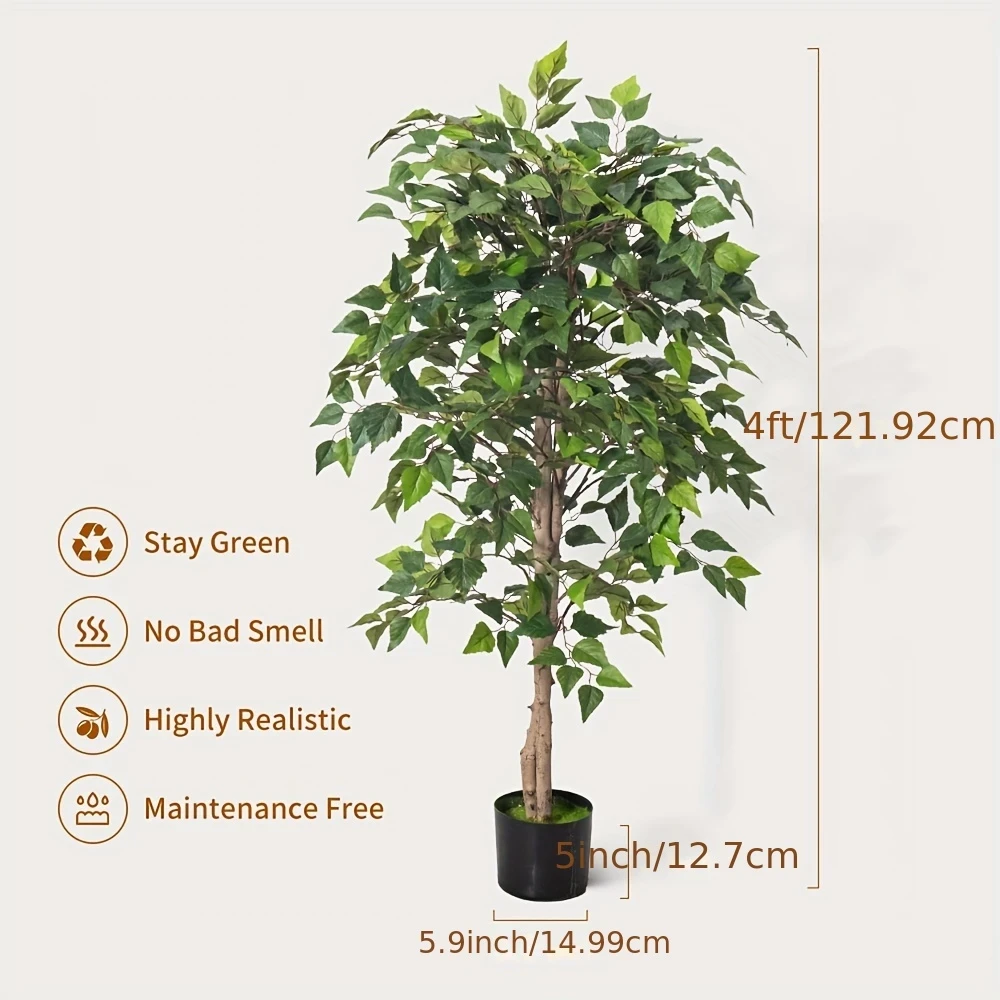
Realistic Artificial Birch Tree - Lifelike Green Leaves, Perfect for Home & Hotel Decor, Ideal Housewarming Gift
Gift Tree


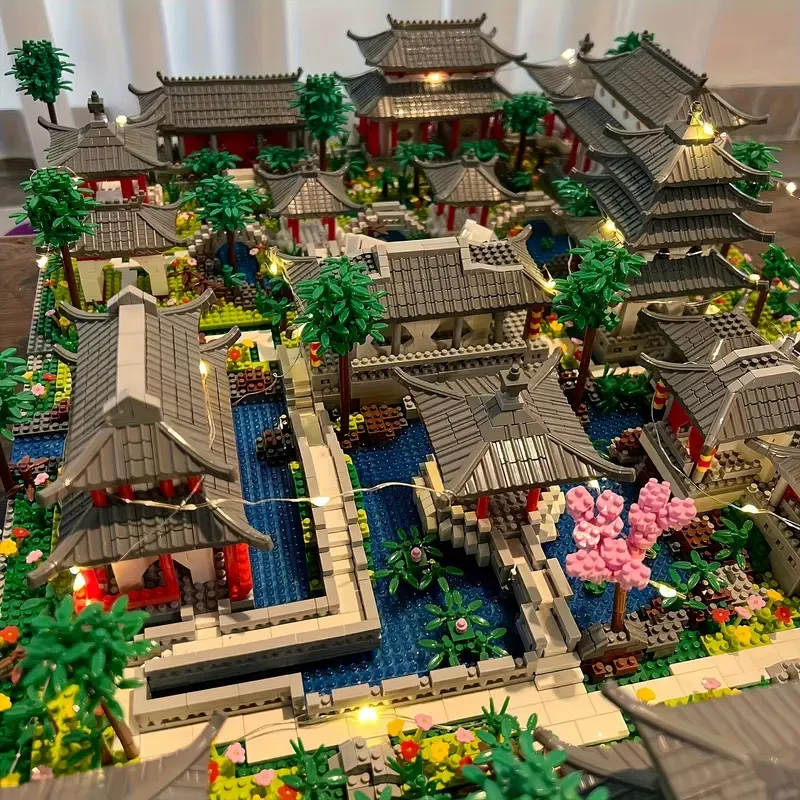
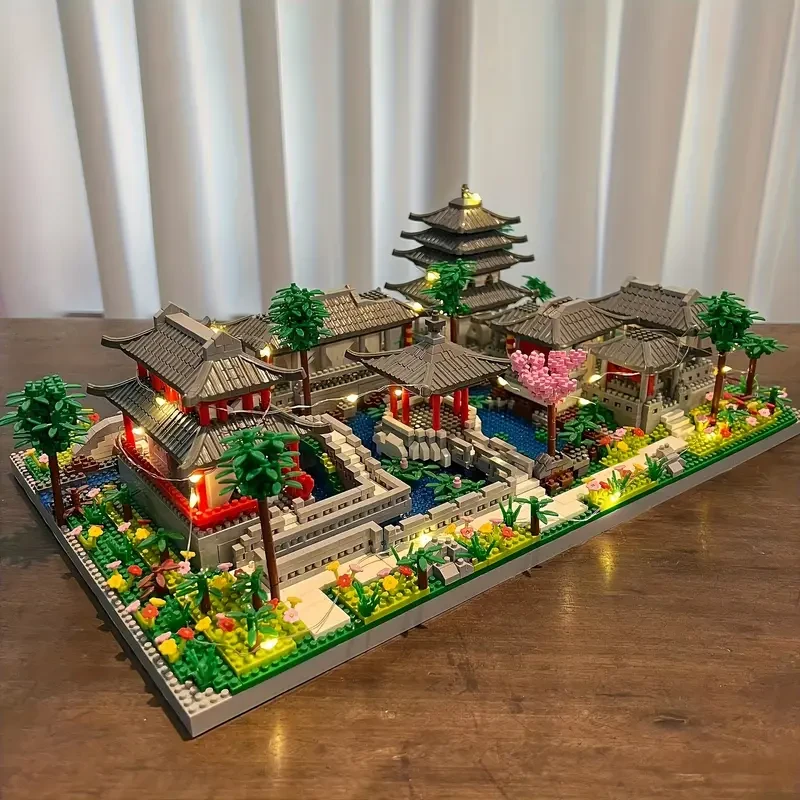
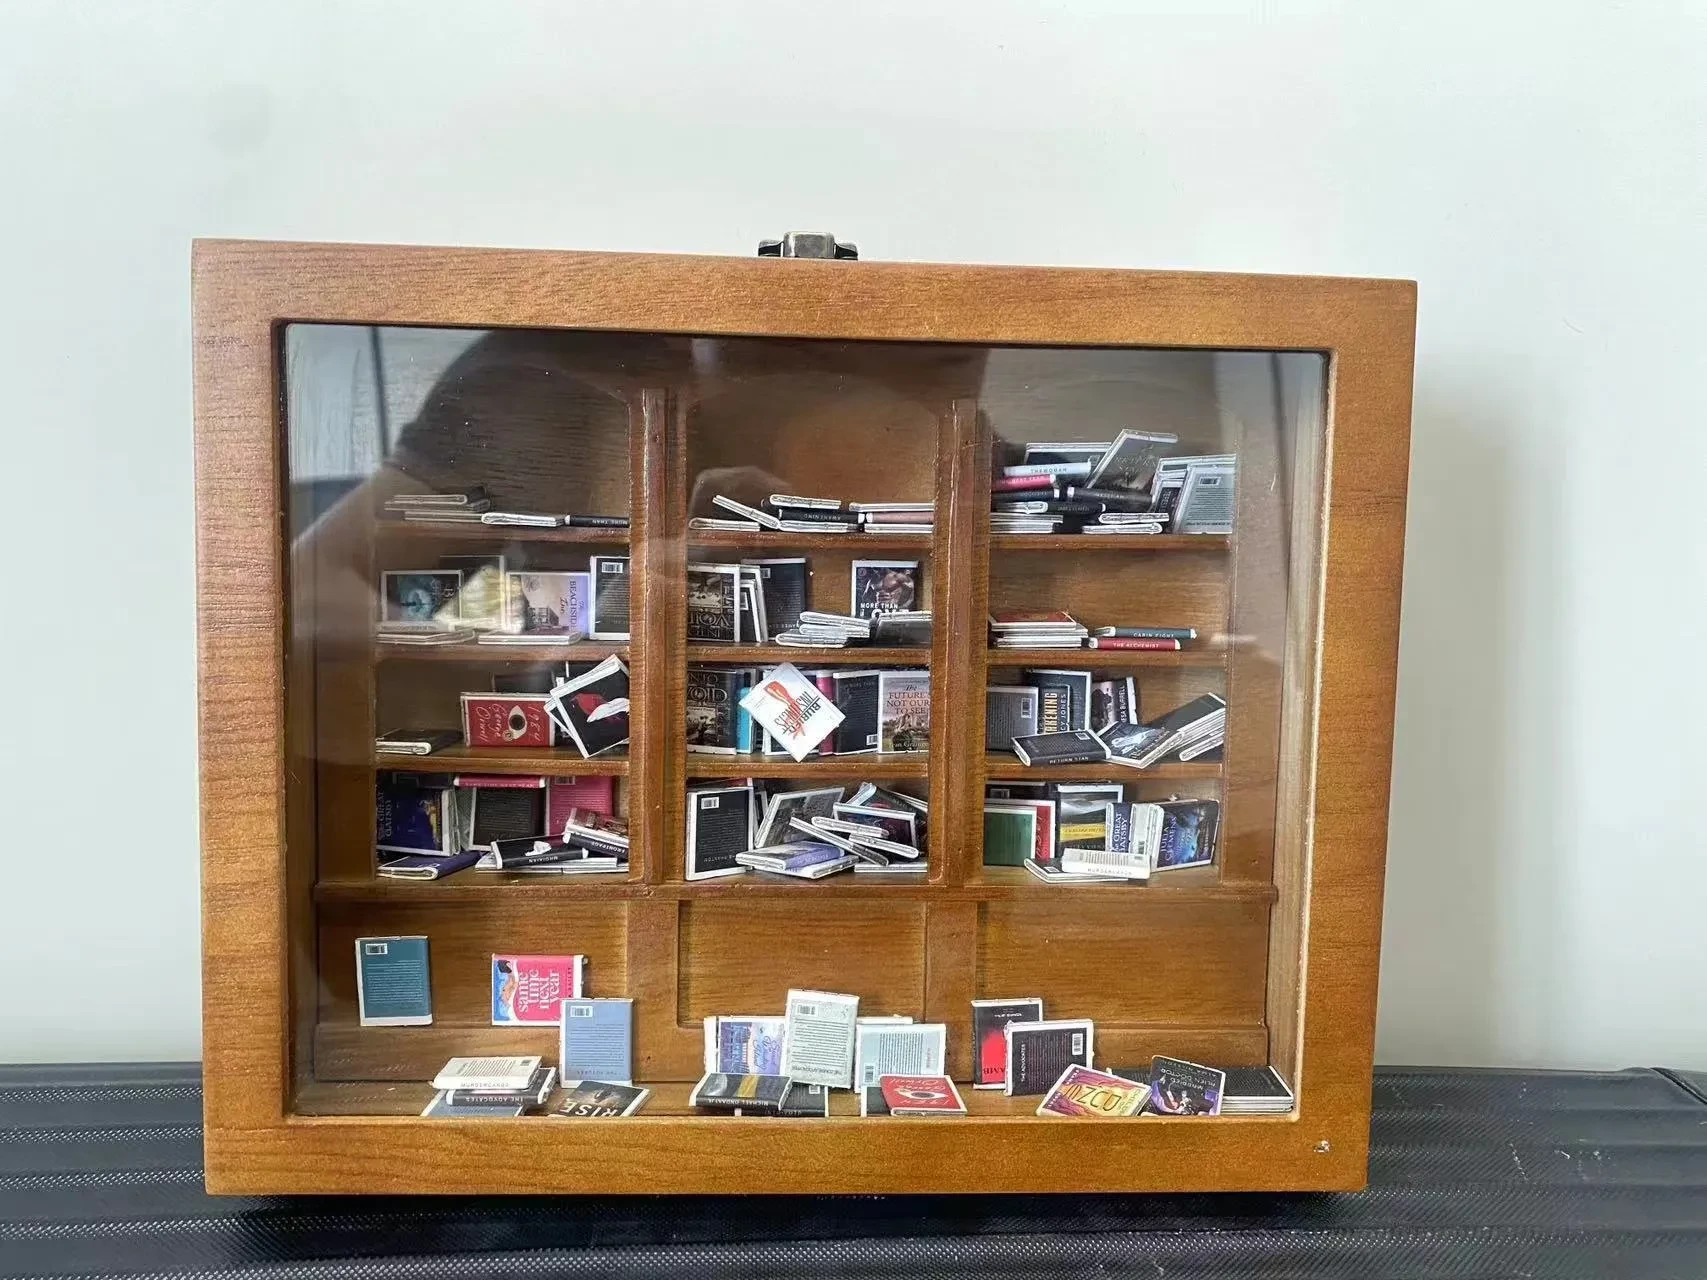
Rompecabezas 3D de sabiduría antigua oriental de más de 5530 piezas - Conjunto de arquitectura de jardines de Suzhou
Gift Tree
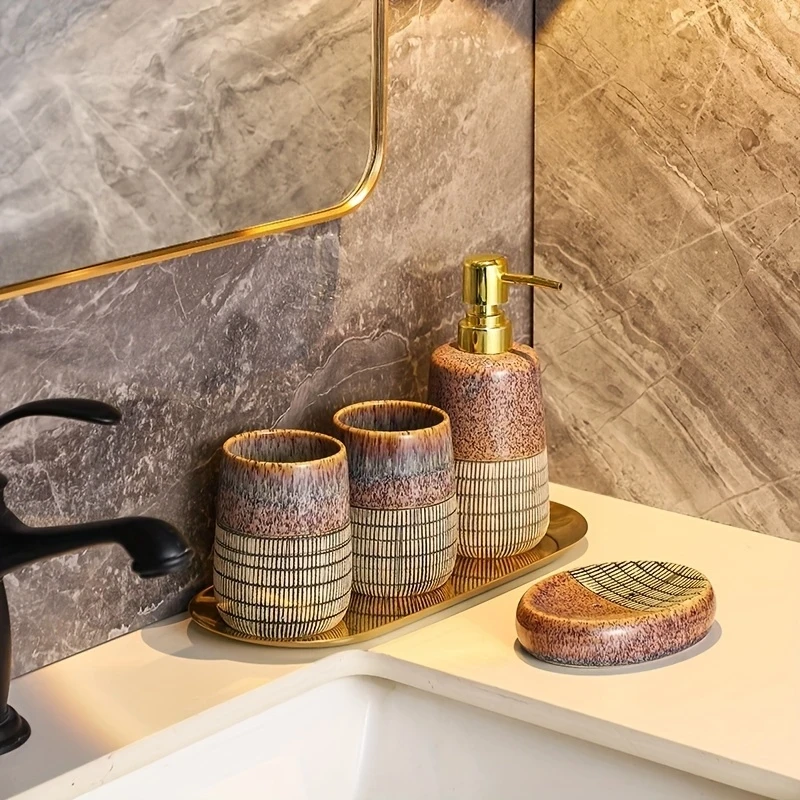
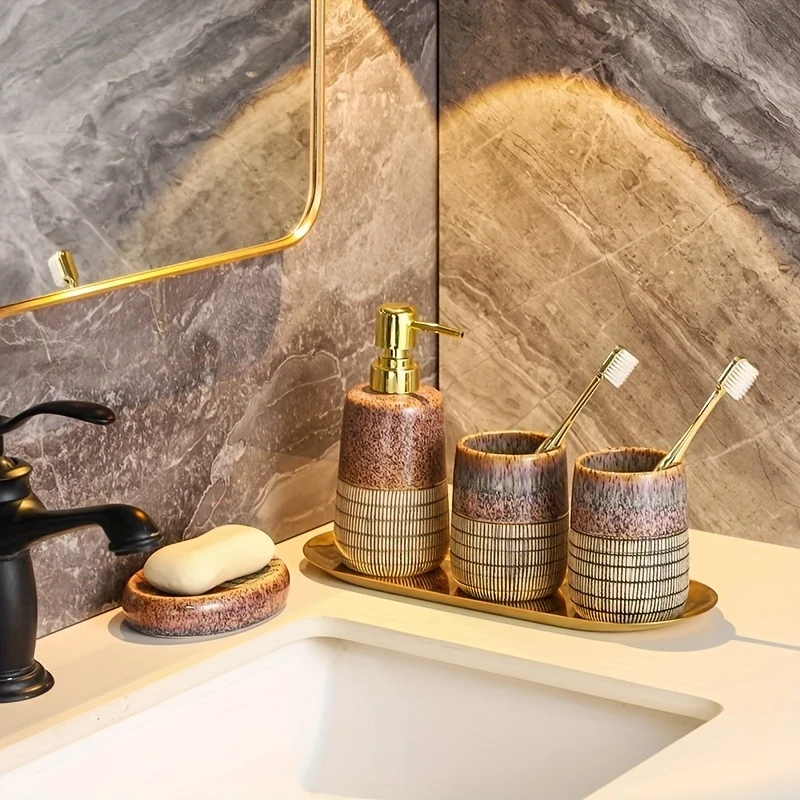
Set of 4pcs Bath Ensemble Includes Soap Dispenser Bathroom Accessories Set
Gift Tree


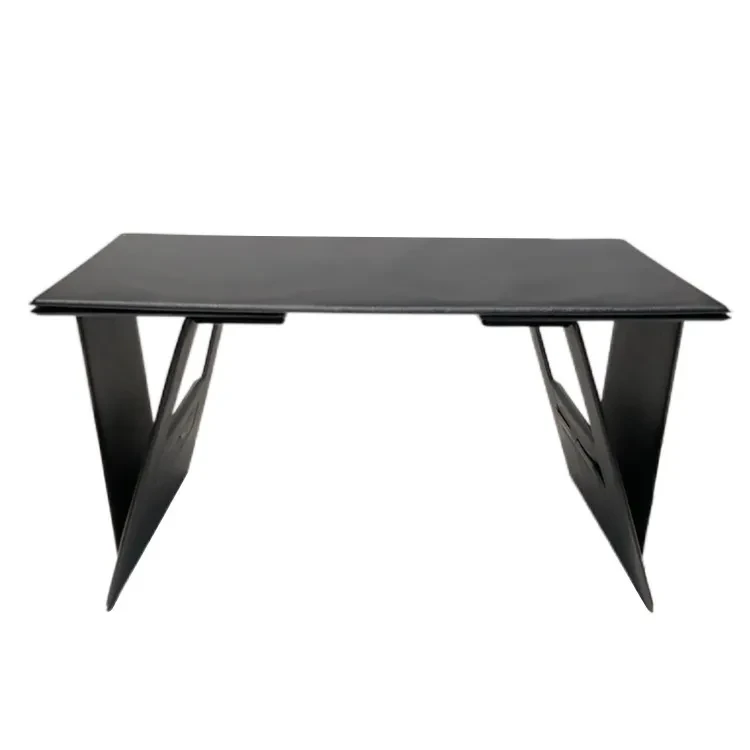
Soporte para computadora Soporte plegable Escritorio para libros Escritorio para portátil
Gift Tree
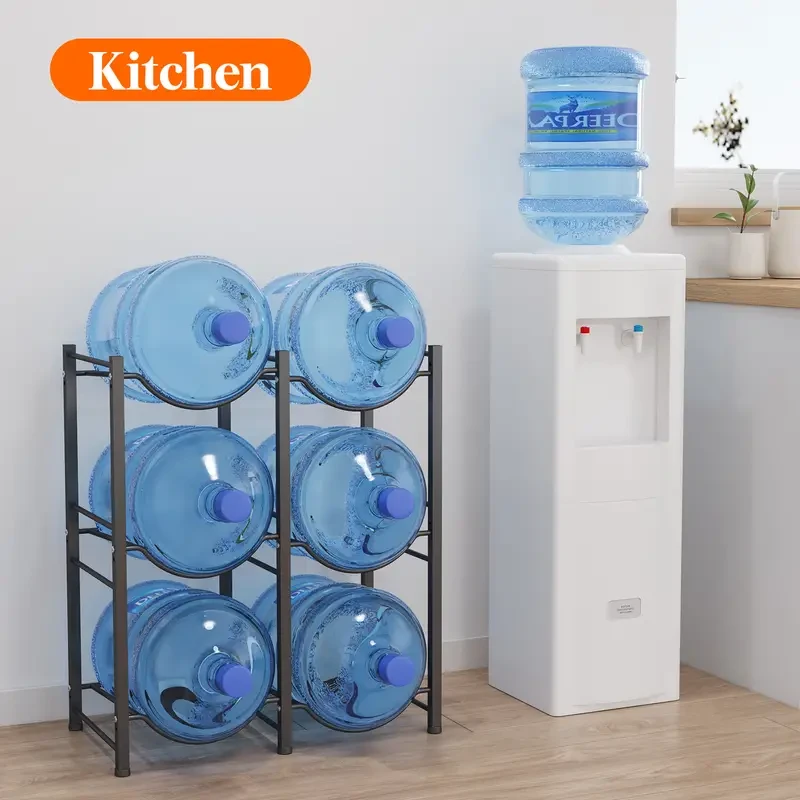
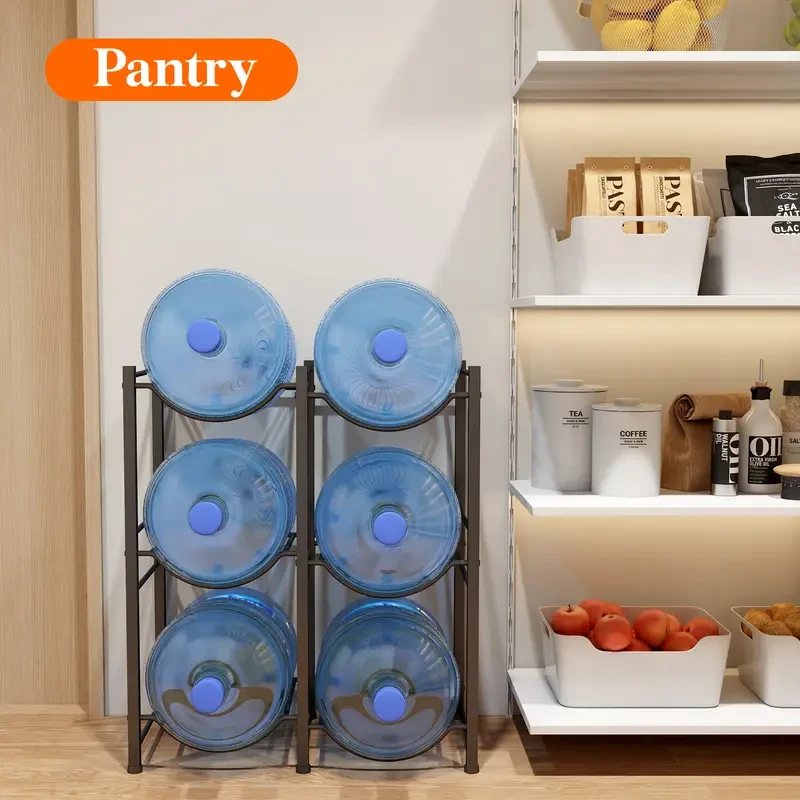
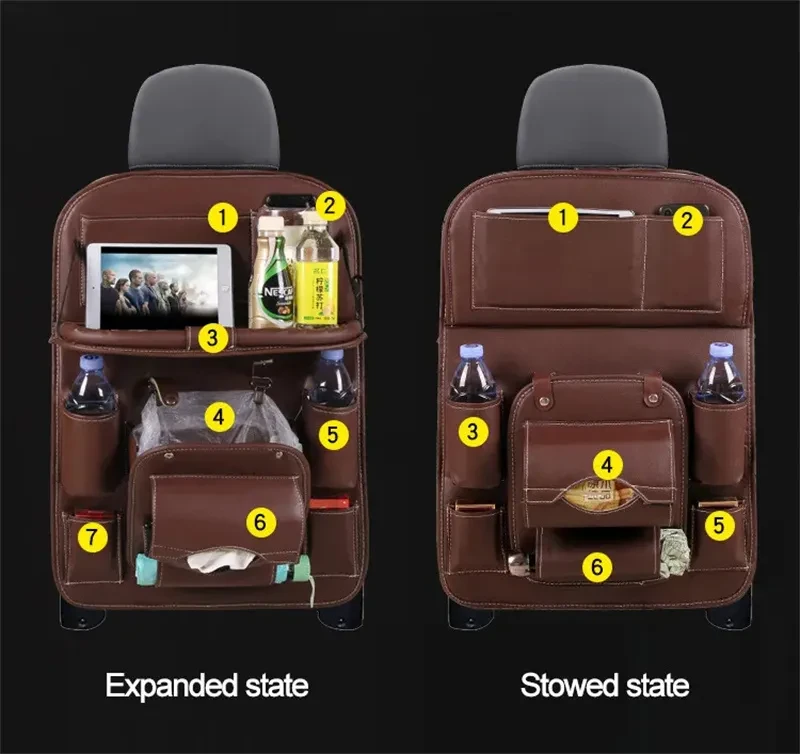
Soporte para jarra de agua de 5 galones - Dispensador de agua resistente de 3 niveles con 6 ranuras
Gift Tree


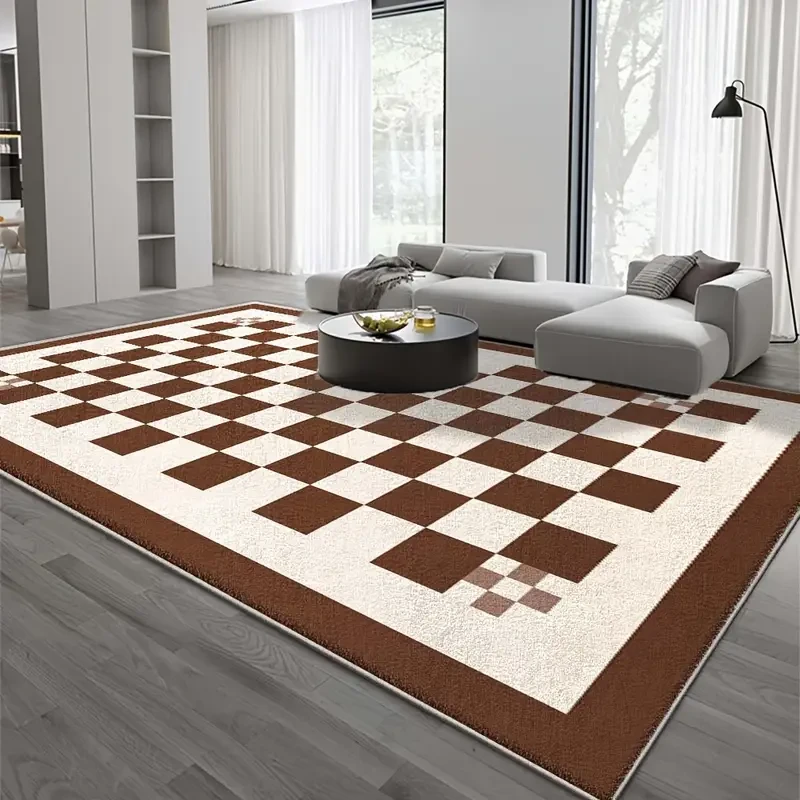
Velvet, 850 Grams Per Square Meter, Carefully Selected Materials, Imported Fabric, Soft As Clouds, Perfect for a Relaxed And Comfortable Room Or Balcony - Available in Various Sizes. This Stunningly Textured Velvet Carpet, Placed in The Center of The Livi
Gift Tree


Juego de platillos para taza de café japonesa, estilo retro europeo de lujo.
Gift Tree


Step-by-Step Home Renovation Checklist: Your Ultimate Guide to a Seamless Home Upgrade in New Zealand
Introduction: Planning Your Dream Home Renovation
Renovating your home can be an exciting yet overwhelming process. Whether you're making minor updates or undertaking a full-scale remodel, having a clear plan is crucial for success. This step-by-step home renovation checklist will help homeowners in New Zealand navigate their renovation journey with ease, ensuring that no detail is overlooked. From setting a budget to choosing the right materials, we cover everything you need to know to make your renovation project a success.
Step 1: Define Your Renovation Goals
Before you start knocking down walls or shopping for new fixtures, it's essential to define your renovation goals. Are you looking to increase property value, improve functionality, or modernize outdated features? Identifying your objectives will guide your decisions throughout the renovation process.
- Assess your needs: Determine what areas of your home require renovation and why.
- Set priorities: Focus on high-impact areas like the kitchen, bathroom, and living spaces.
- Consider future-proofing: Think about long-term benefits, such as energy efficiency and smart home technology.
Step 2: Set a Realistic Budget
Budgeting is one of the most critical steps in home renovation. Without a clear budget, costs can quickly spiral out of control.
- Research renovation costs in New Zealand: Prices vary based on location, materials, and labor.
- Get multiple quotes: Compare quotes from different contractors to ensure competitive pricing.
- Allocate a contingency fund: Set aside at least 10-20% of your budget for unexpected expenses.
Step 3: Obtain Necessary Permits and Approvals
Certain home renovations require council approvals or building permits in New Zealand. Failing to obtain the necessary permits can lead to legal issues and costly fines.
- Check local council regulations: Each region has specific building codes and permit requirements.
- Hire a licensed builder: A professional contractor can help with the permit application process.
- Consider heritage or zoning restrictions: If your property is heritage-listed, additional approvals may be needed.
Step 4: Choose the Right Professionals
Hiring experienced professionals can make or break your renovation project. From architects to builders, selecting the right team ensures quality workmanship and timely completion.
- Research and read reviews: Look for reputable contractors with a proven track record in NZ.
- Ask for references: Speak to past clients to understand their experience.
- Get a detailed contract: Ensure all terms, timelines, and costs are clearly outlined.
Step 5: Plan the Renovation Timeline
A well-structured timeline keeps your project on track and prevents unnecessary delays.
- Create a renovation schedule: List each phase, from demolition to final finishes.
- Consider weather conditions: Certain renovations, such as roofing or outdoor work, are best done in specific seasons.
- Prepare for temporary living arrangements: If your renovation is extensive, you may need to relocate temporarily.
Step 6: Select Materials and Finishes
Choosing high-quality materials enhances the durability and aesthetics of your renovation.
- Opt for sustainable materials: Bamboo flooring, recycled wood, and energy-efficient windows are great eco-friendly choices.
- Compare price vs. quality: Sometimes, investing a little more in durable materials saves money in the long run.
- Stay on trend: Modern design elements, such as open-plan layouts and smart home features, add value.
Step 7: Demolition and Structural Work
Once planning is complete, the physical renovation begins. Demolition and structural work set the foundation for the entire project.
- Ensure safety measures: Use protective gear and follow safety guidelines.
- Dispose of waste properly: Consider hiring a skip bin for construction debris.
- Address structural issues: Reinforce walls, foundations, and roofing if necessary.
Step 8: Electrical, Plumbing, and HVAC Installation
Updating your home's core systems ensures efficiency and compliance with building standards.
- Upgrade old wiring: Reduce fire hazards by replacing outdated electrical systems.
- Install energy-efficient plumbing: Water-saving taps and dual-flush toilets help conserve water.
- Consider heating and cooling solutions: Heat pumps and insulation improve comfort in NZ’s climate.
Step 9: Interior and Exterior Painting
A fresh coat of paint transforms your home, making it look brand new.
- Choose durable paint: Use moisture-resistant paint for bathrooms and kitchens.
- Pick neutral tones: Neutral colors appeal to more buyers if you plan to sell.
- Don’t forget the exterior: Weather-resistant paint protects your home from NZ’s elements.
Step 10: Flooring and Fixtures Installation
Flooring and fixtures tie the renovation together, creating a cohesive look.
- Select flooring that suits your lifestyle: Timber, tile, or laminate flooring each have pros and cons.
- Install modern fixtures: Upgrade sinks, faucets, and lighting for a contemporary touch.
- Ensure proper installation: Poorly installed flooring can lead to costly repairs.
Step 11: Final Inspections and Touch-Ups
Before you move in or list your home for sale, final inspections ensure everything meets NZ’s building standards.
- Check for defects: Address any cracks, leaks, or unfinished work.
- Deep clean the space: Remove dust and construction debris.
- Get a final sign-off: Ensure compliance with building regulations and warranties.
Step 12: Enjoy Your Newly Renovated Home!
After months of planning and hard work, it's time to enjoy your beautifully renovated home. Whether you've upgraded for comfort or investment, a well-executed renovation enhances your living space and adds value to your property.
Enter your content here


.jpg)


.jpeg)


.jpeg)


.jpeg)


.jpeg)


.jpeg)

.jpeg)

.jpeg)
.jpeg)


.jpeg)
.jpg)

.jpeg)


.jpeg)
.jpeg)


.jpeg)


.jpeg)
.jpeg)

.jpeg)

.jpeg)
.jpeg)


.jpeg)
.jpeg)
.jpeg)


.jpeg)


.jpeg)


.jpg)
.jpeg)


.jpg)


.jpeg)


.png)


.png)